Welcome back! Lets finish this thing and get it out on the trails!
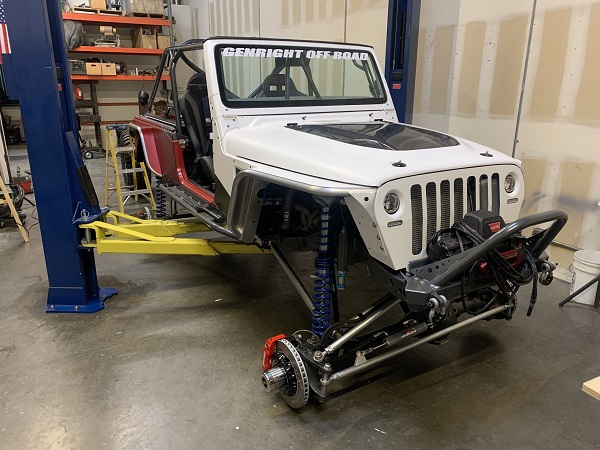
So the first thing to notice is that we moved the Jeep to our shop because we have some custom aluminum features that will be much easier with access to the brake and shear. So this may be where this build goes beyond the average garage build. Also having access to the lift, we decided to pull the body back off and make a few adjustments.
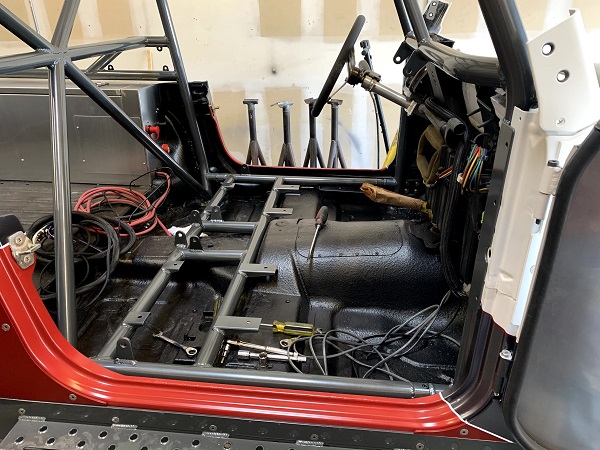
So the body comes off to run the shift cables for the transfer case and transmission through the floor in the correct location. After that the body will be set back on the chassis for good.
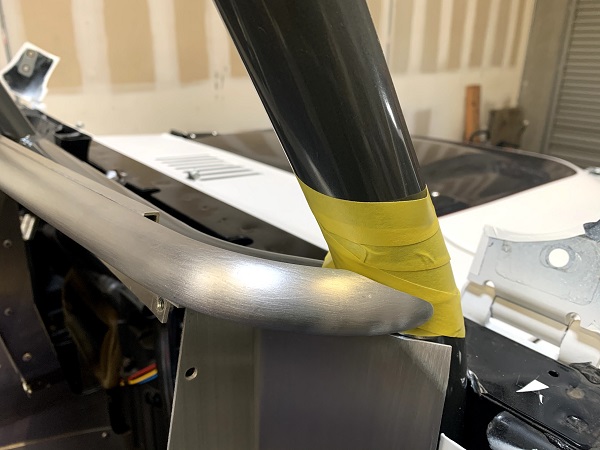
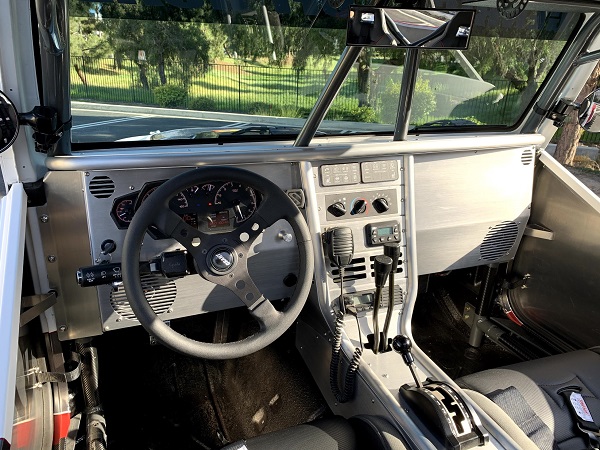
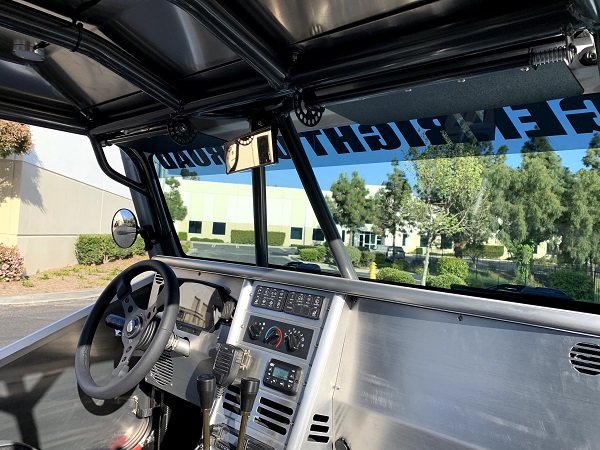
Time to move on to the custom aluminum dash. We designed this dash on our CAD program and had the local shop laser cut it from .100 aluminum sheet. The tubes are 1" x.125 wall aluminum. We bent them in our tubing bender, and tried to use a Harbor Freight roller for the long radius, but that thing leaves a whole lot to be desired. Even after about 6 hours of straightening, aligning and adjusting, we still got a bend that was barley acceptable.
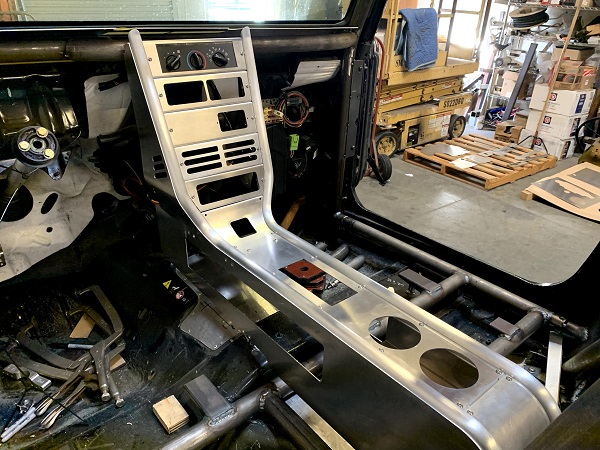
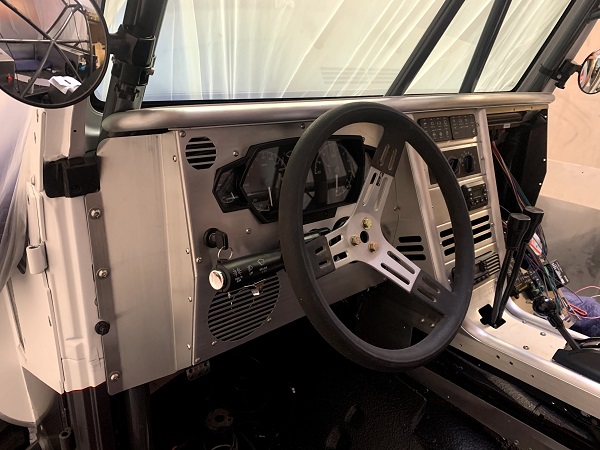
All of the center console panels are removable, so wiring and maintenance will be a breeze.
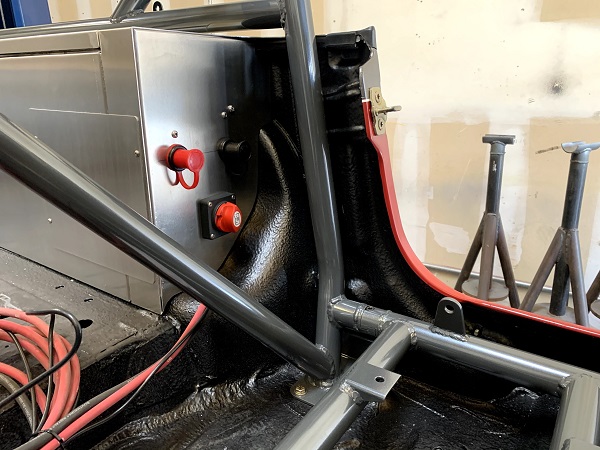
We are using a Winters reverse pattern shifter for our 4L80 and the stock Atlas twin stick shifter for the transfer case. The dash panel swings down to access all of the electronics.

We are using a gauge cluster from
Dakota Digital.This unit is very programmable and is designed to accept up to 16 additional input modules for almost anything you want to add. We added a compass and temp module, trans gear display module, fuel pressure module and trans temp module. Super clean and well designed.
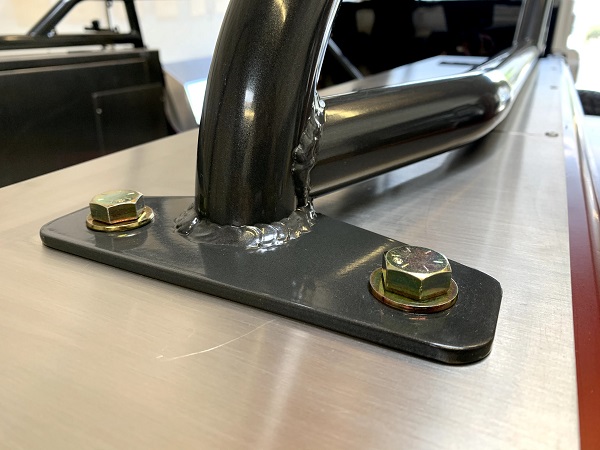
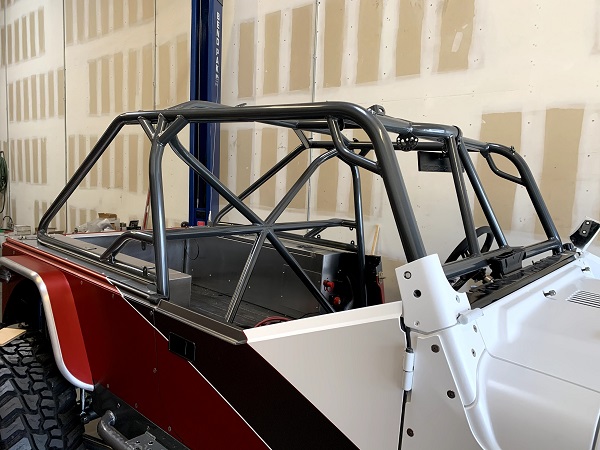
The cage is next. Here we add the mounting tabs for the windshield to the cage before we remove it for final welding and powder coat.
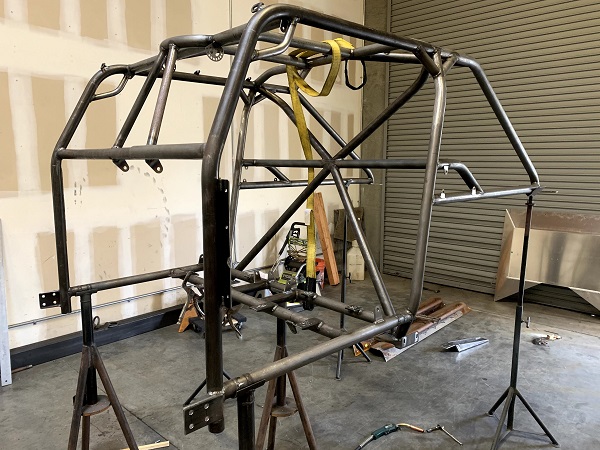
Next we pull out the cage and complete the final welding, cleaning and prep for powder.
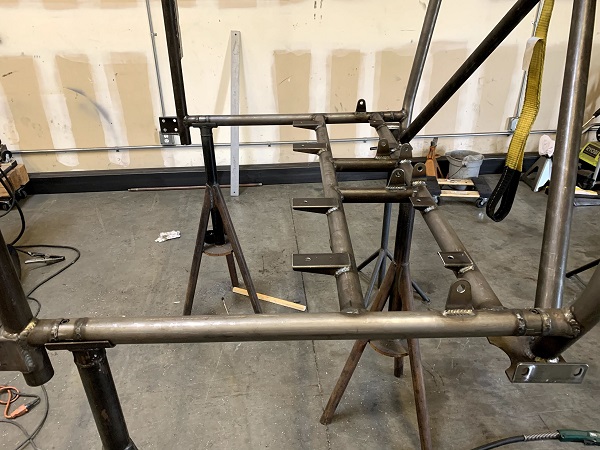
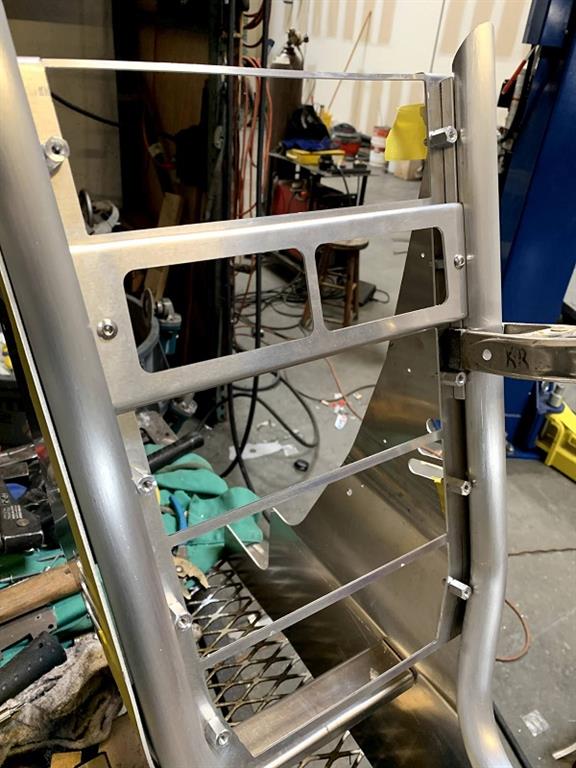
Drilling holes for the seat sliders and adding tabs for the harnesses and console.
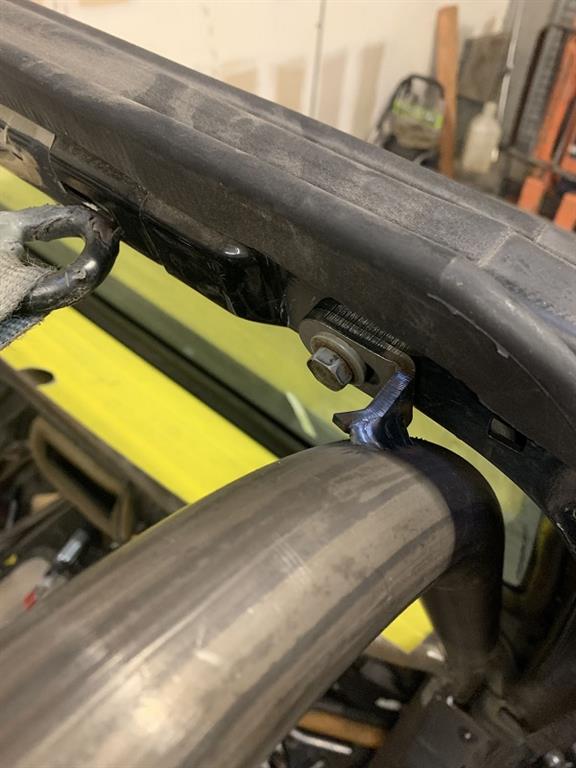
These brackets tie the A pillars through the body to the rock rails.
We purchased these sun visors from
Kartek and welded them in. We also added a hoop to the front tube to move the intrusion bars and mirror mount forward.
These 2 tabs are for the front of the center console.
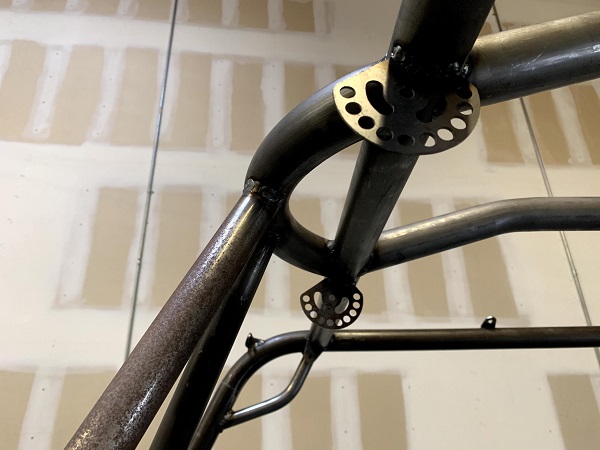
We added tabs for the roof panel and side emblems.
We cut 4" off the C pillar so that it would land on our aluminum side boxes. After that we welded, cleaned and prepped.

The
GenRight front bumper had to be cut because we kicked the bottom of our grill forward for a sleeker look.
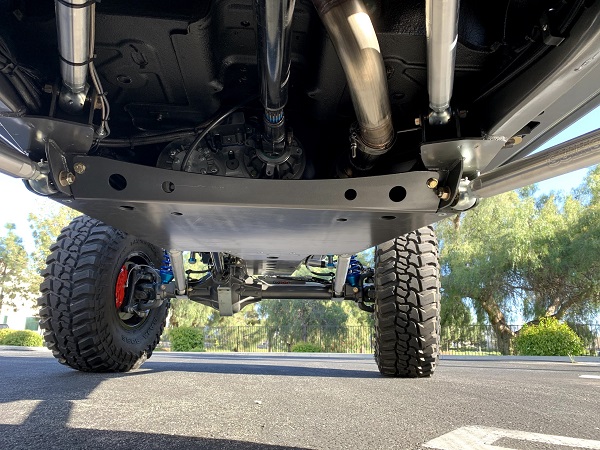
We fabricated this front shock tower tie in. It runs from the left tower to the right.
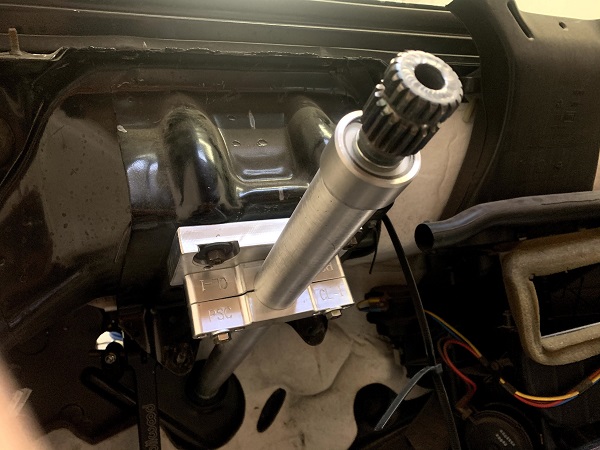
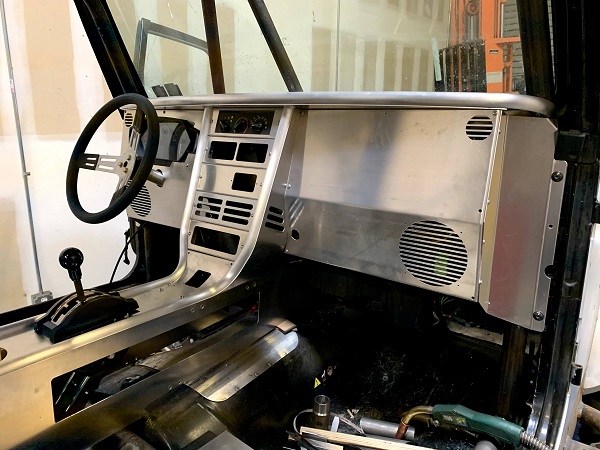
This aluminum steering column is from
PSC. We made an aluminum mount that uses the stock column mounting bolts.
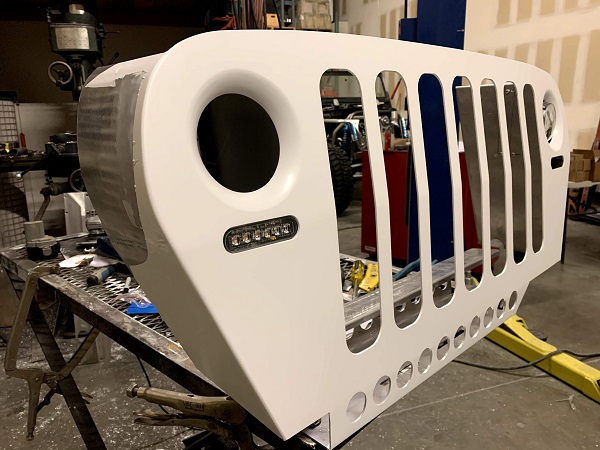
Next we covered the grill with satin white wrap.
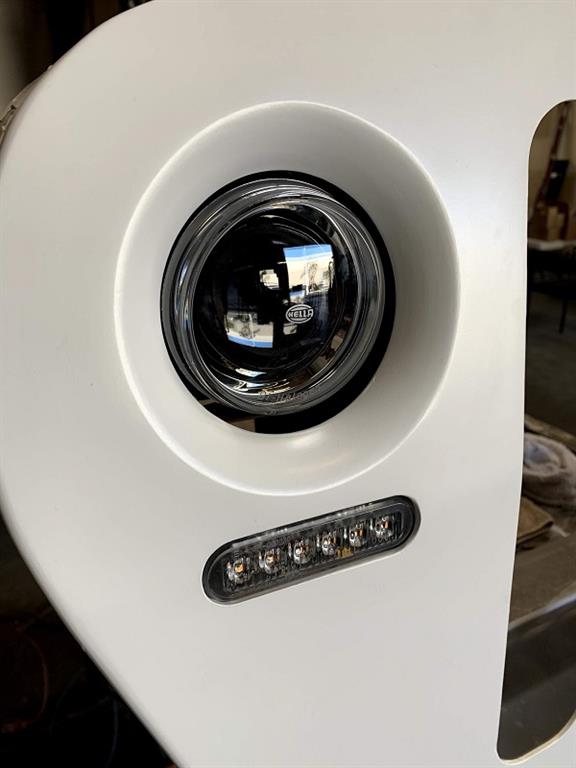
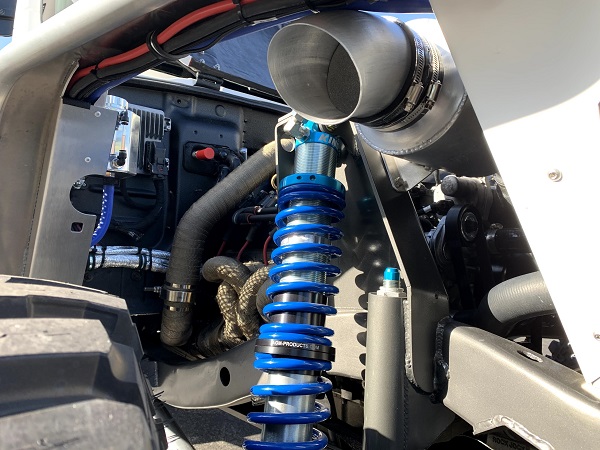
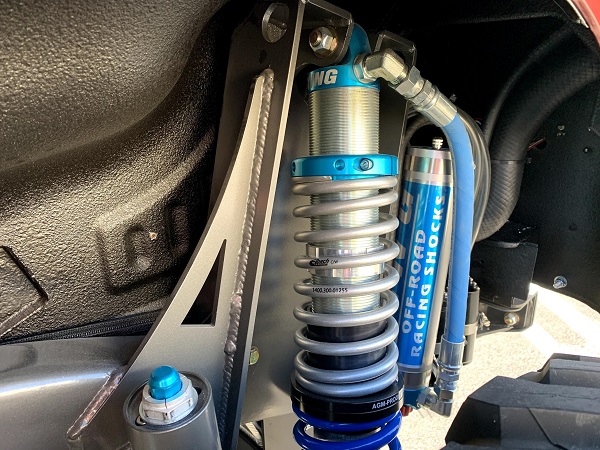
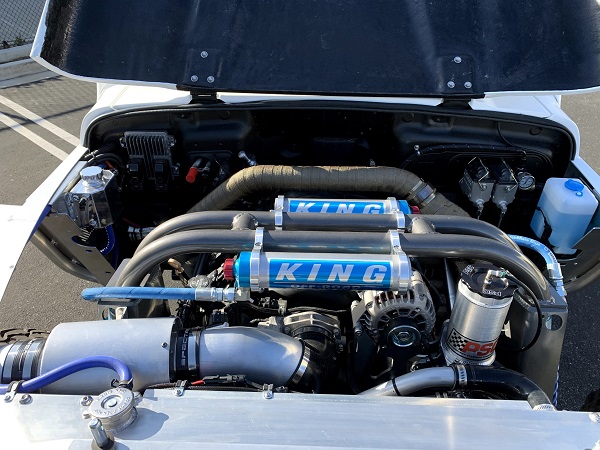
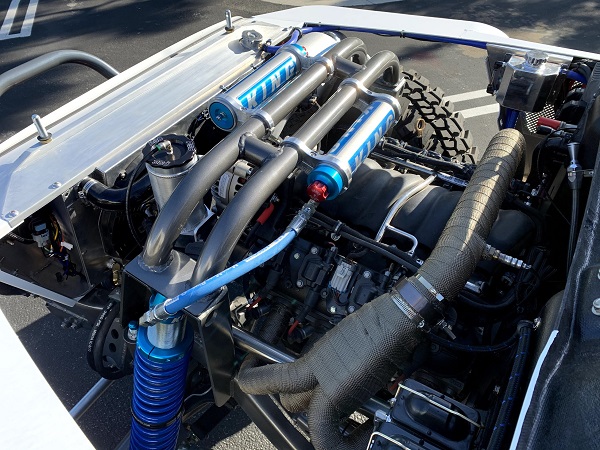
And installed all of the fun stuff.

This
Mishimoto cooler will be used for the power steering fluid.
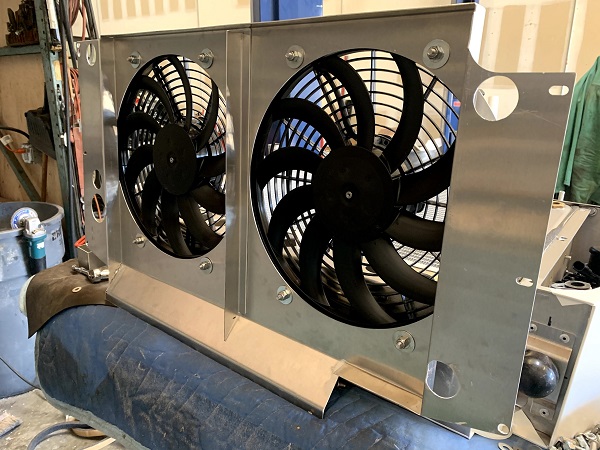
The fans are installed into the shroud.
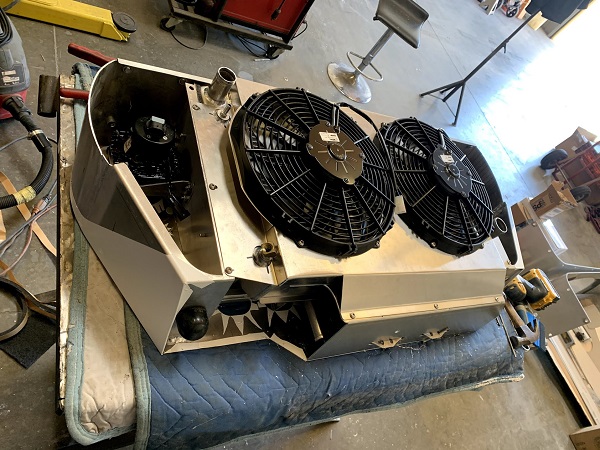
Then the shroud is installed onto the grill. Behind the shroud is an aluminum
LS3 radiator, A/C condenser and P/S cooler.
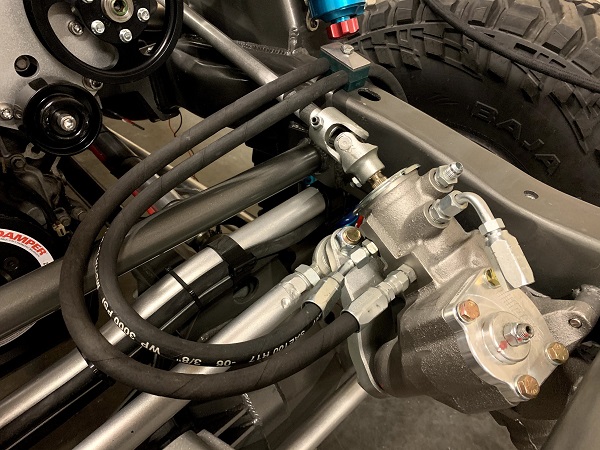
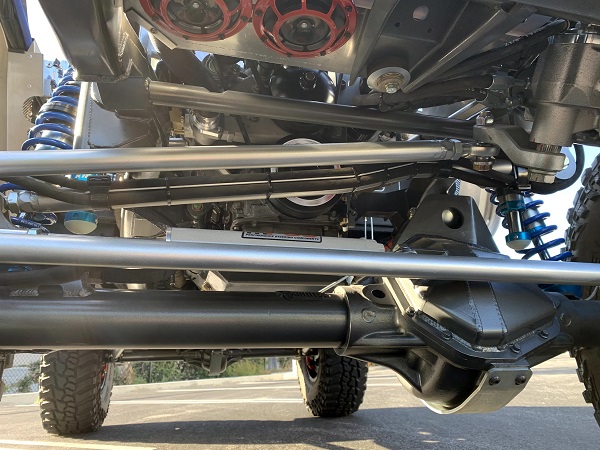
Before we install the grill we plumbed the power steering box.
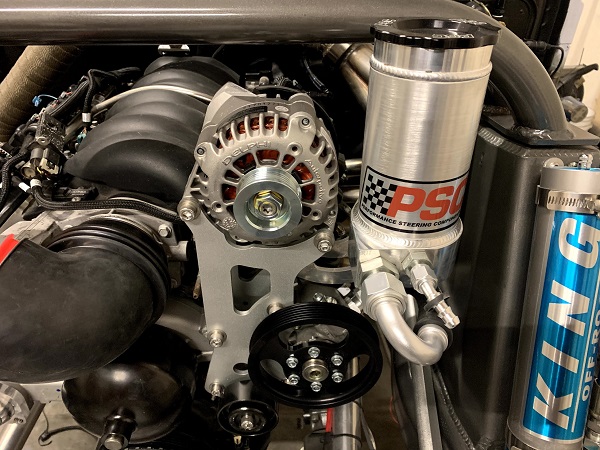
We also installed the
GenRight mounts for the alternator, PSC pump and resevoir.

Powder coat is back!
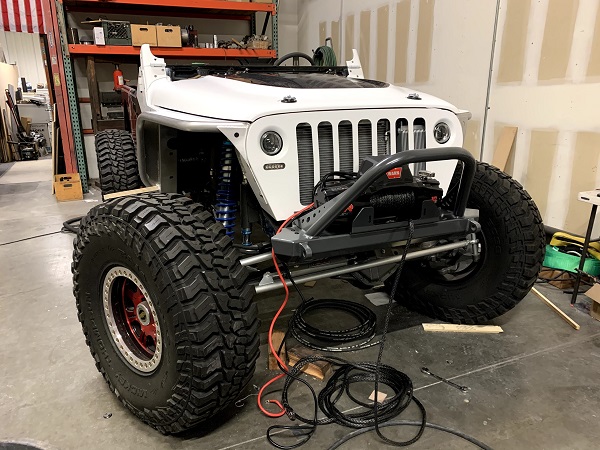
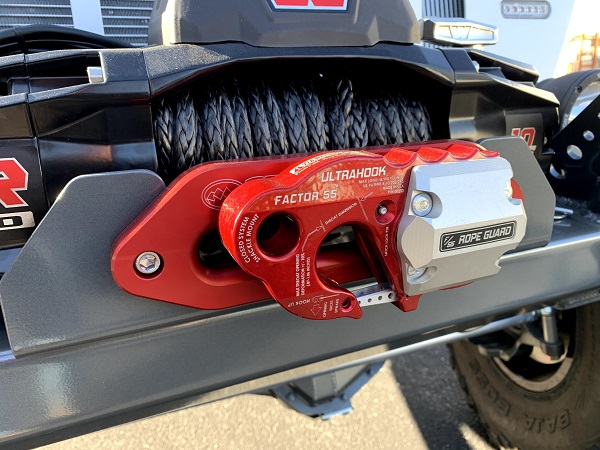
And then the grill finds its home. The bumper and winch go on.
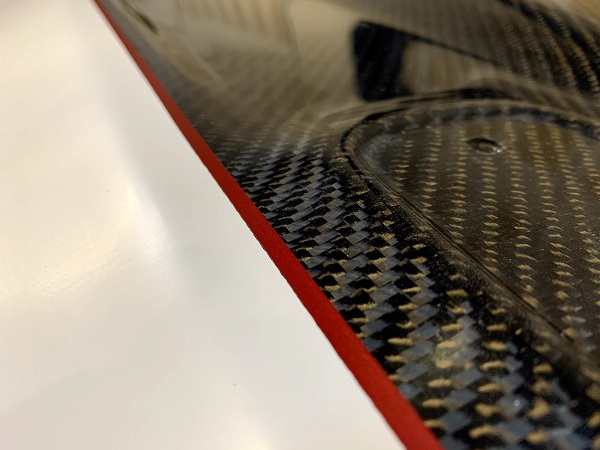
The hood was ordered from GenRight. It's beautiful carbon fiber!
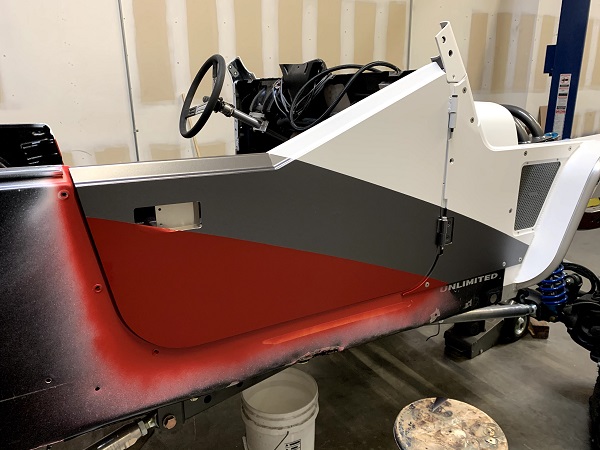
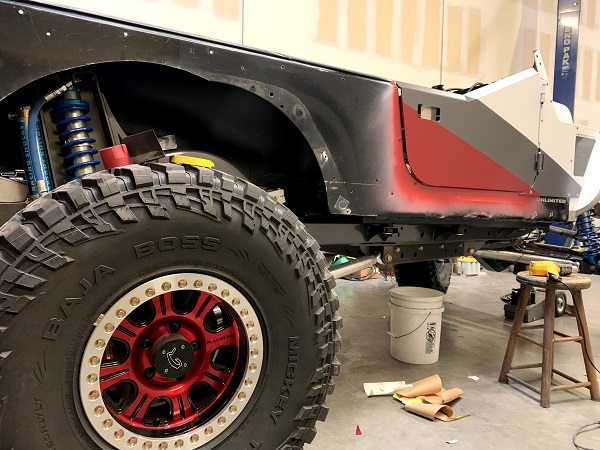
The door jambs get painted and the doors wrapped.
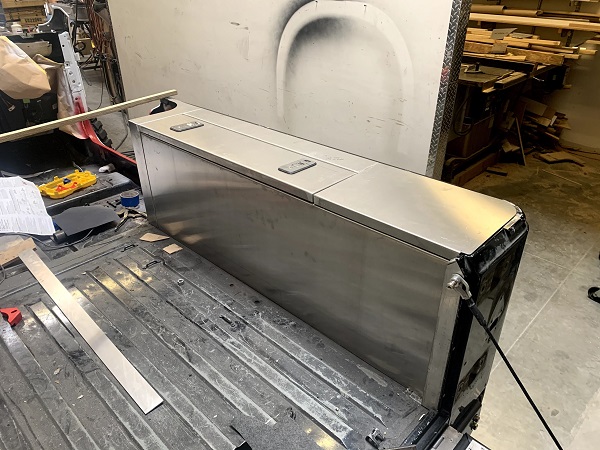
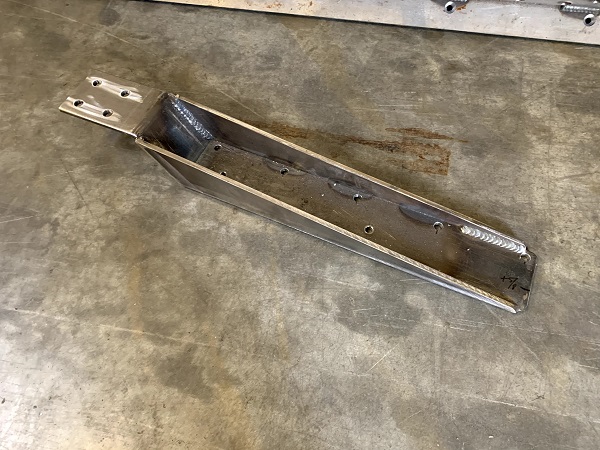
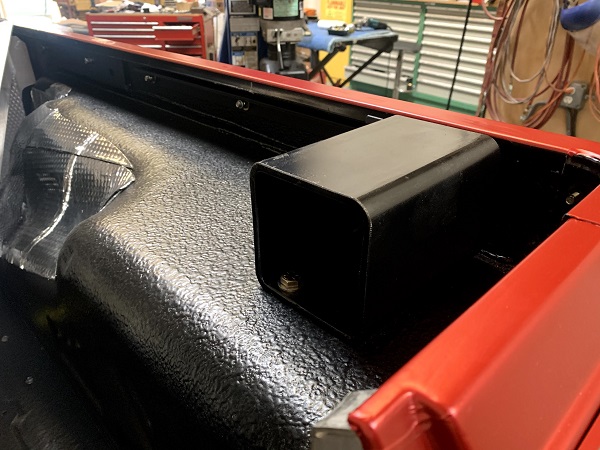
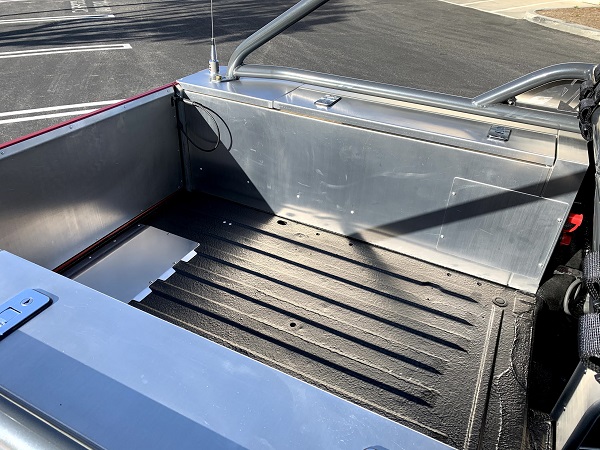
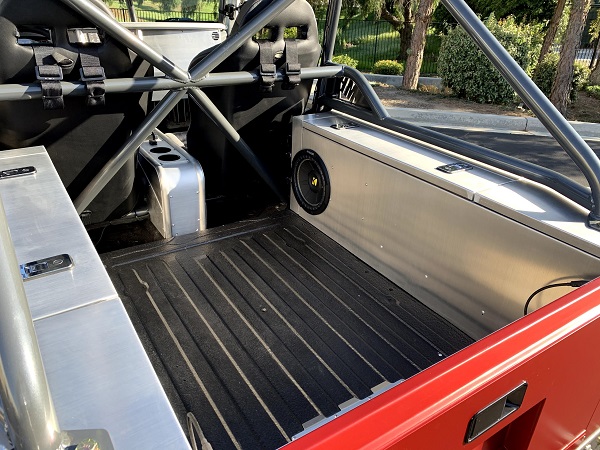
Next up we built these cool tool boxes. They are only about 4" deep but great for straps, pullies, tools and some small spare parts. The lids are water proof. The passenger side will have a sub woofer and amp mounted toward the front.
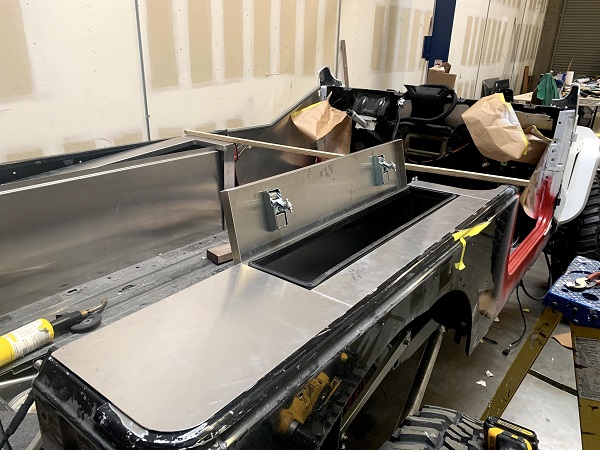
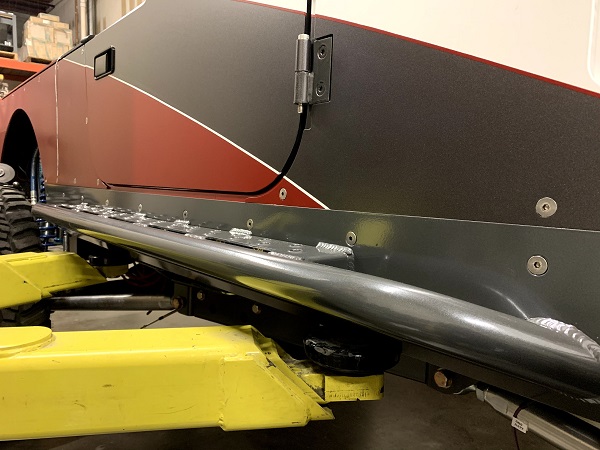
They are flush to the top of the tub sides.

On the driver's side we marked out the cuts for the battery box.
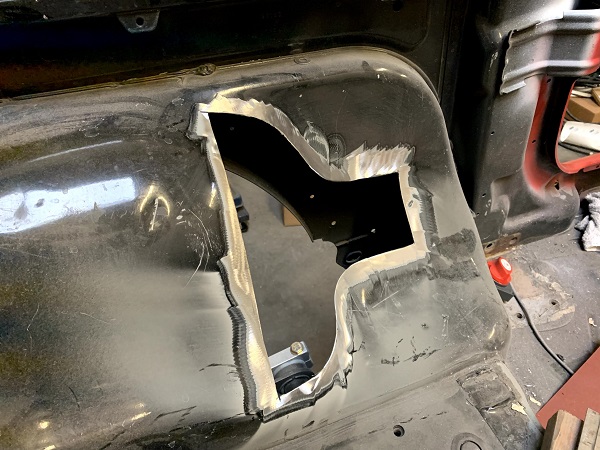
And then cut it out and cleaned it up. Then we bent up a piece of steel and welded it in.
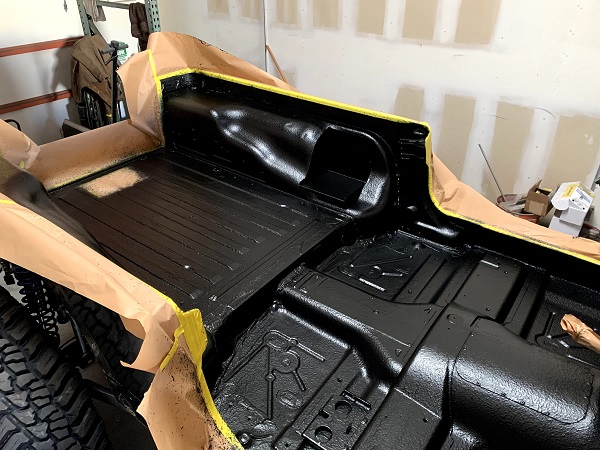
A coat of bed liner and it looks great!
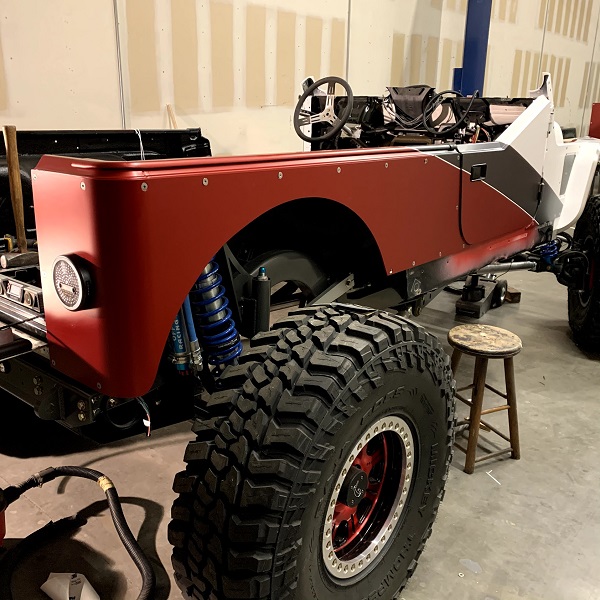

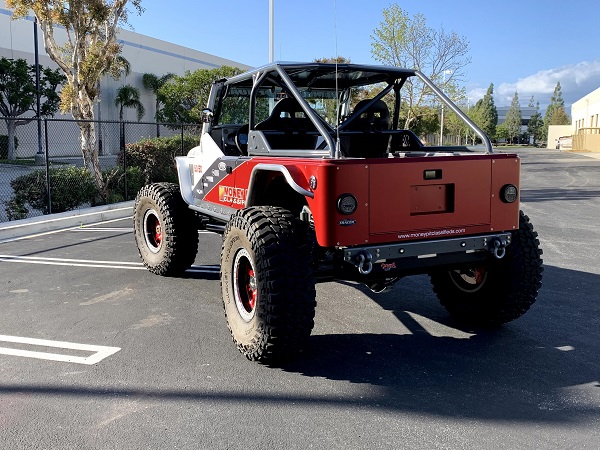
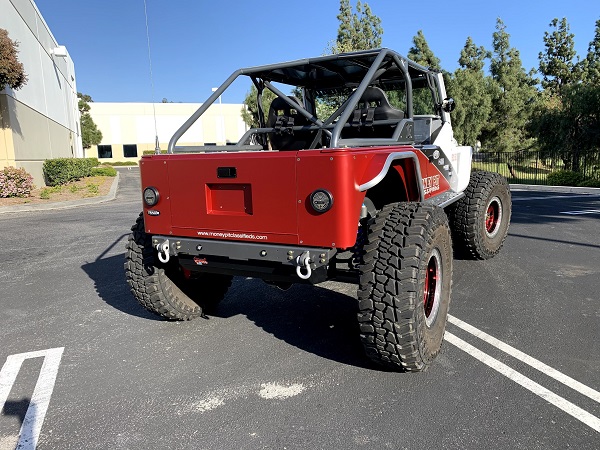
The tailgate gets wrapped in satin red and installed. It looks awesome!
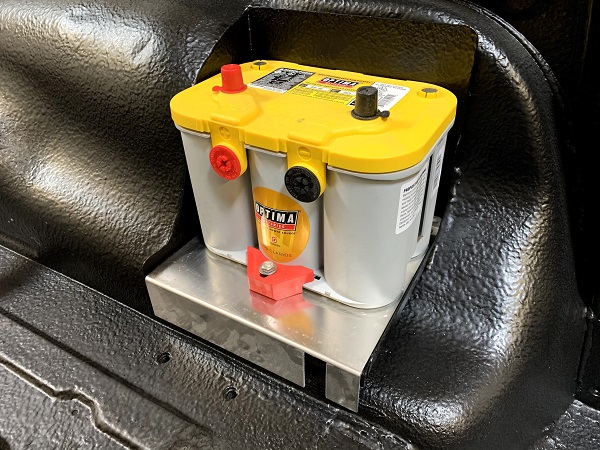
The battery goes in and is fastened down with the provided hardware.
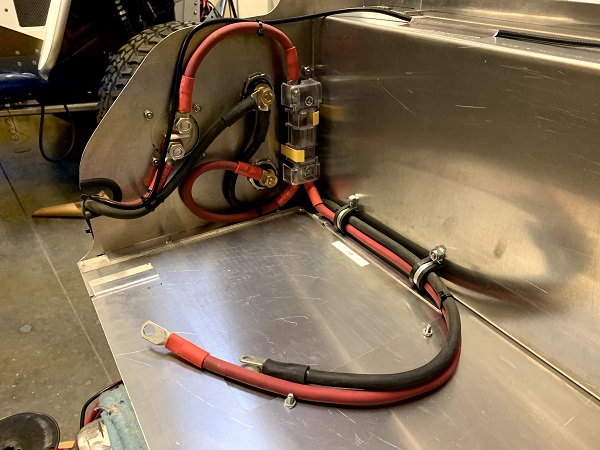
We pre-wire the tool box with a battery cut off switch, jump terminals and a fuse.
We made these spacers for the roll cage C pillar. Then the tool boxes go in!
The dash is going back in!
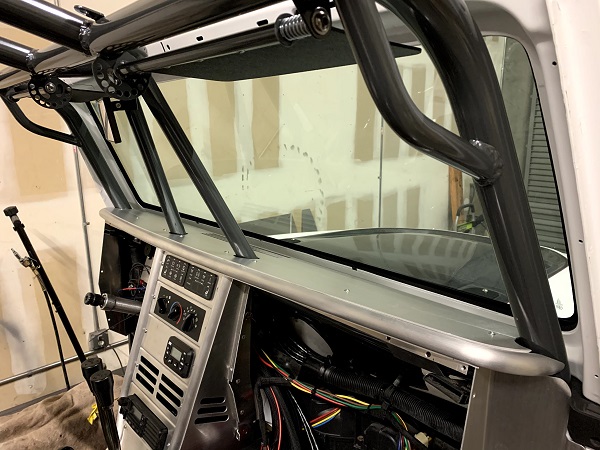
The dash and sun visors are looking so good!

The windshield frame gets wrapped and new glass installed. We installed the glass without the rubber gasket for a cleaner finish.
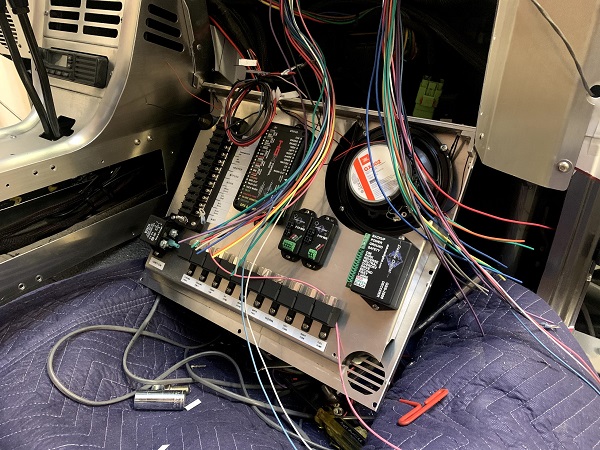
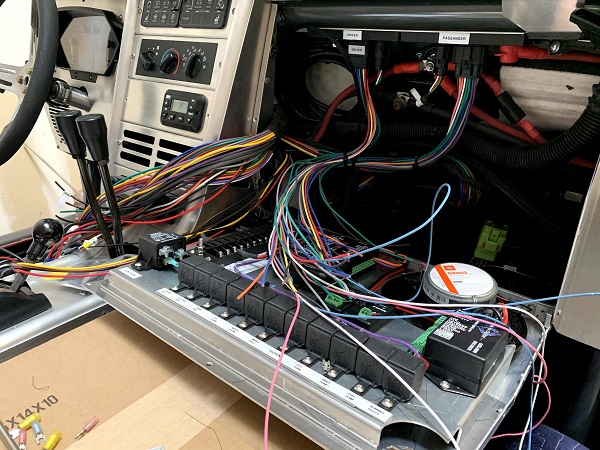
There is a bunch of wiring to do! We built all of the looms from scratch!
The driver's side looks incredible! We used a blinker unit from
Grote. It incorporates the blinkers, stop lights, hazards, wipers, high beams and horn button. The side and rear view mirrors are made by
Scosche. We are using 2 Switch Pros switch panels to control all of our accessories on board. These units are very well made and versatile.
Ready to go for it. 3 days later it was complete.
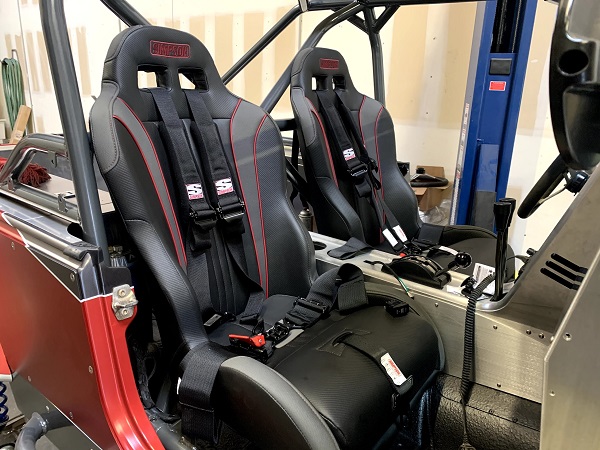
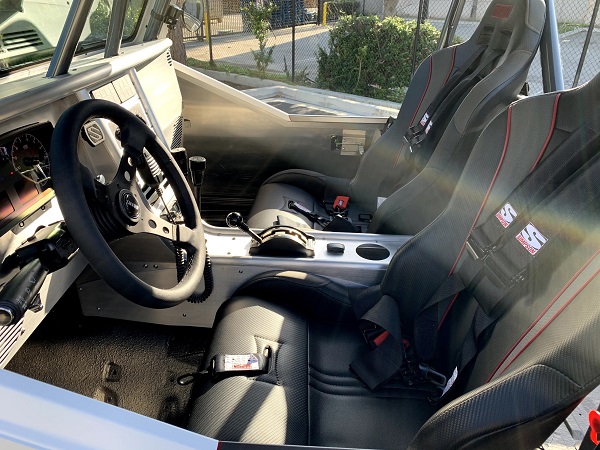
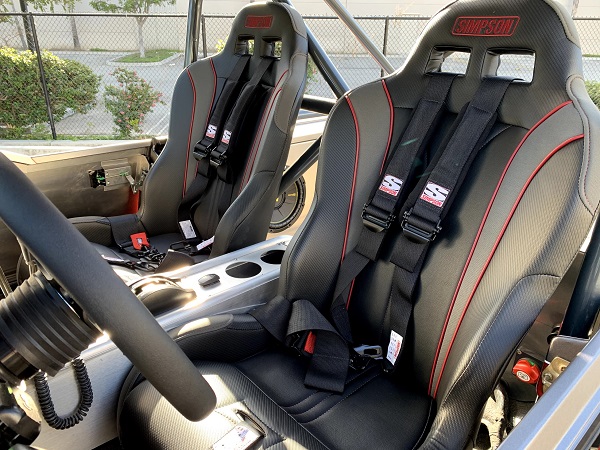
These seats were provided by
Simpson and look and feel incredible!
After we bled the brakes, the tires will go on.

We also partnered with
R1 Concepts,
Advance Adapters,
J. E. Reel Driveline Service,
Simpson Racing,
RockJock 4X4,
AGM,
Rockstar Performance Garage and
Mishimoto on this build. Many of these companies offer
generous discounts through Money Pit Classifieds and we would very much appreciate you using our discount codes when making your next purchase. Also don't forget to tell them you saw their awesome products on this build!
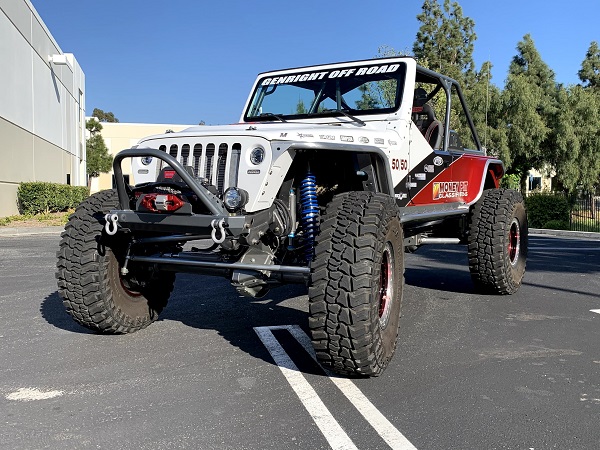
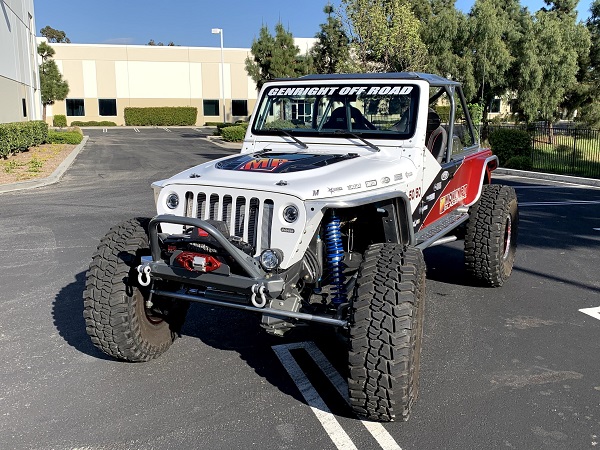
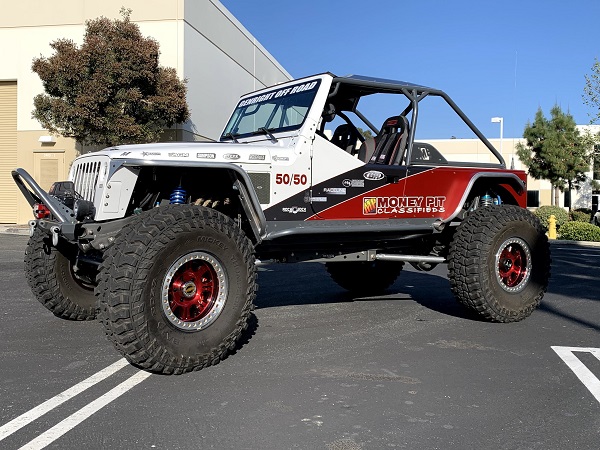
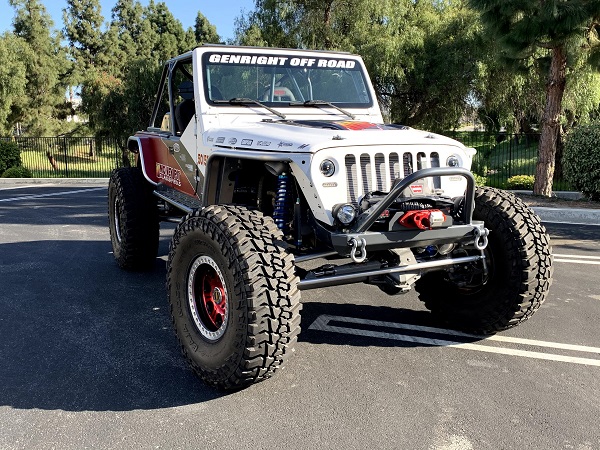
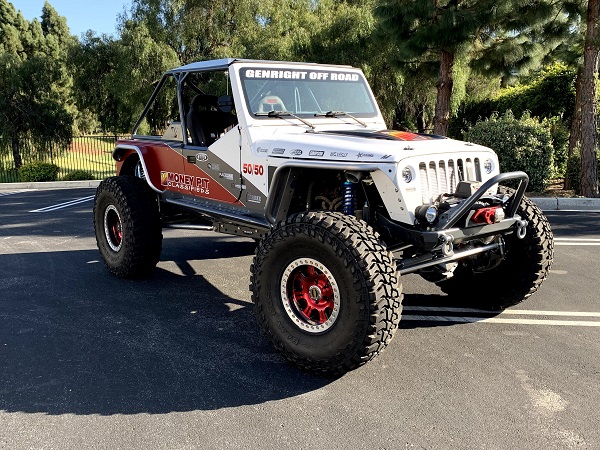
Nothing left now but to show you the finished product. We think you will like how it turned out!

Thanks for reading all the way through to the end of this series.I know it's a lot and I hope you enjoyed it. If you have any questions regarding this build or the companies that partnered with Money Pit Classifieds, please do not hesitate to ask. You can email me at moneypitmark@gmail.com.
Hopefully we will see you out on the trail and you can take a look at 50/50!