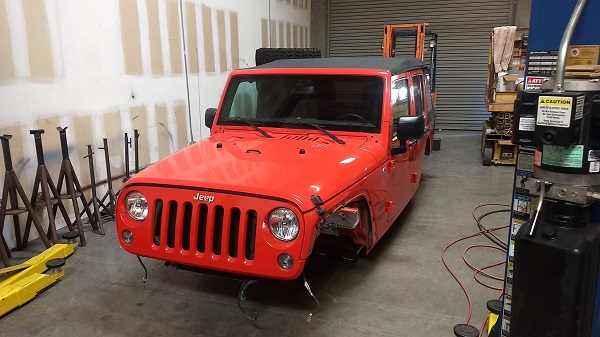
2015 JKU with 15k miles.
Features:
2015 JKU
Super clean used Jeep
Ready to take this thing apart
Pulling the body off
Removing the drivetrain
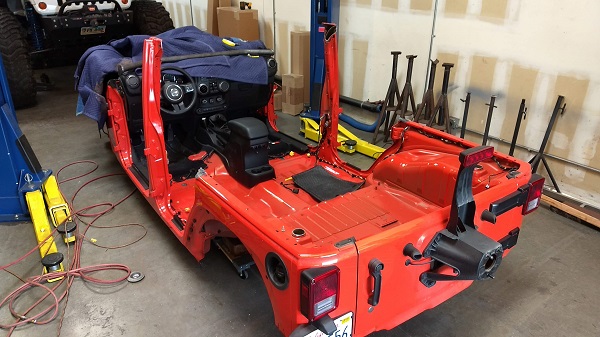
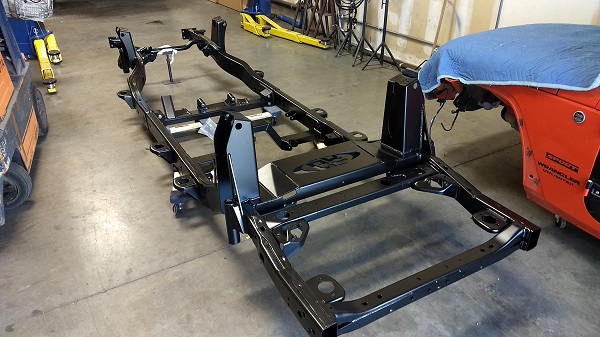
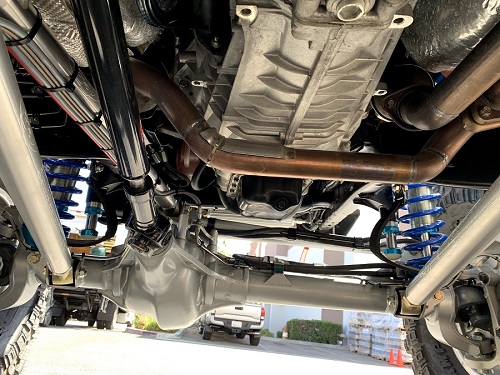
Chassis completely disassembled
All factory brackets removed and cleaned up
All
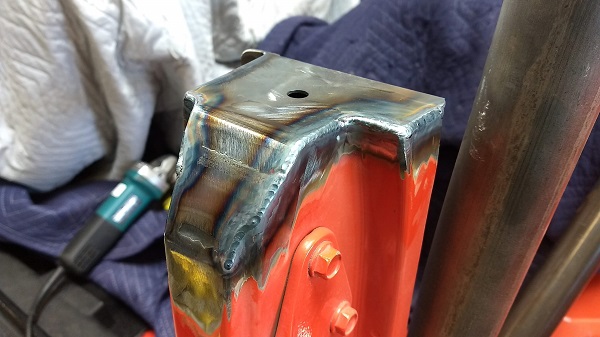
GenRight Elite brackets and mounts installed and ready for final welding
Final welding under side of rear shock towers
Final welding of inside cross member
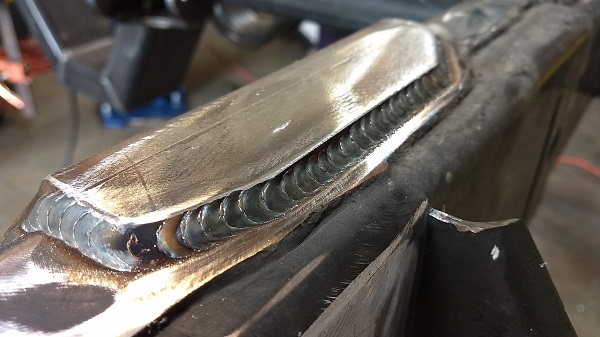
Under side of rear cross member after final welding
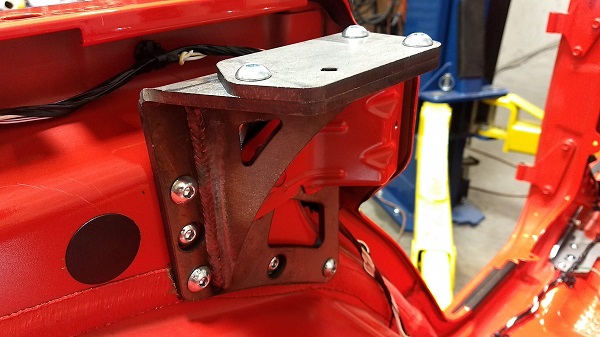
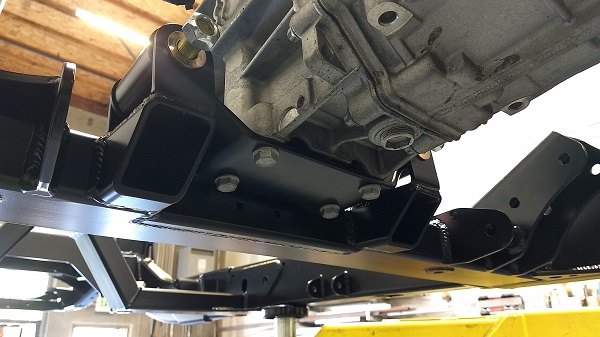
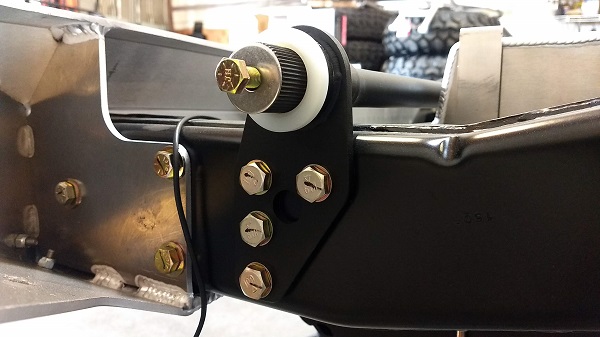
Custom trans mount for manual transmission
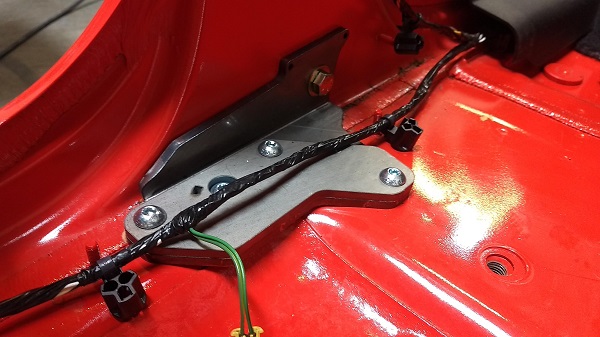
Frame side mount for transfer case tail housing brace
Passenger side of trans mount
Front cross member with trans and transfer case mounts ready for powder coat

After lots of cleaning of all of the weld areas the frame gets a ride to powder coat
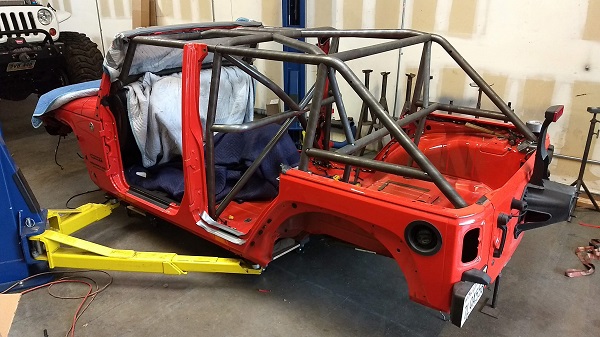
JKU body for tear down.
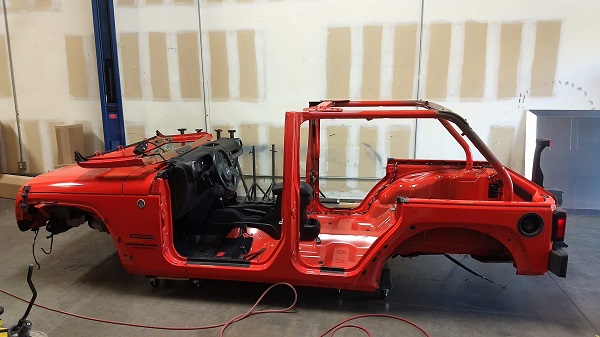
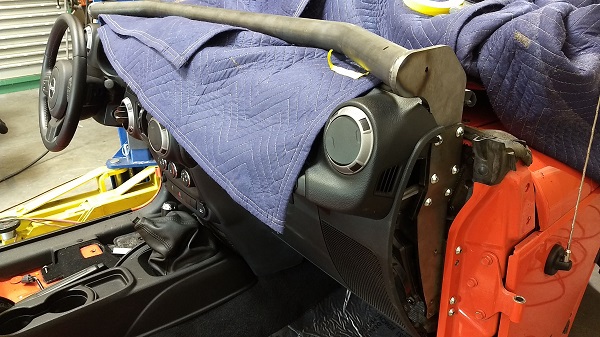
Top, doors and interior removed

Interior almost ready for GenRight Cage install
Time to cut the stock cage out
Factory cage cut away from the tub and removed
GenRight cage install begins with some dash trimming and the A pillar stanchions and dash bar installation
Genright Cage B-Pillar mounts installed
C-Pillar mounts installed
D-Pillar mounts installed
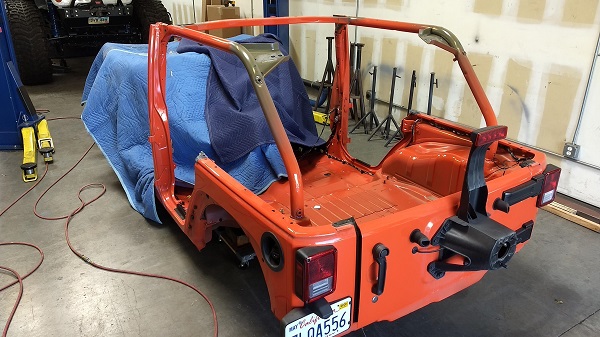
A few hours later the cage is all tacked up
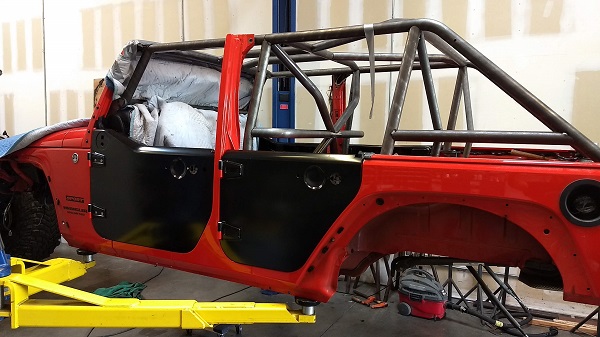
New half doors installed and adjusted
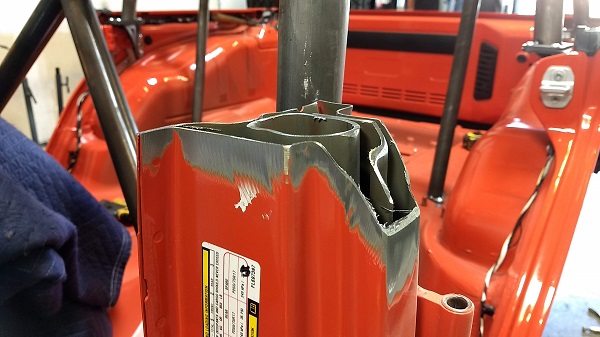
This B-Pillar didnt have a chance against cutoff wheel and a Sawsall
B-Pillar lower cap TIG welded in place

After the upper cap was welded and they were both sanded to perfection they mate up great. I filled the corner of the drivers door for a cleaner look.
A closer look
The top has a pinch clamp to hold it in place
And there it is all finished and ready for paint
Chassis back from powder coat. Satin black looks great!
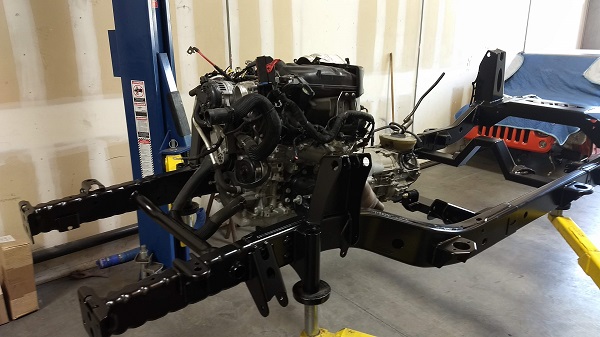
Engine and trans going back in
Custom trans bracket fits perfect!
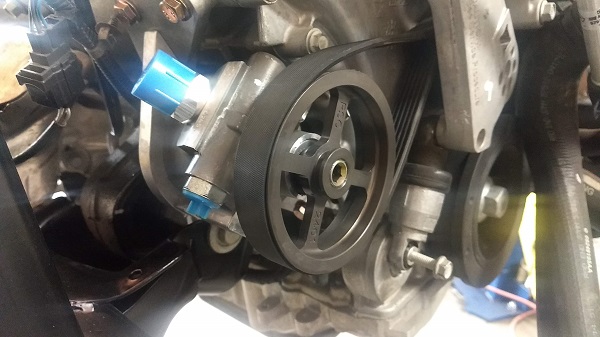
Stock power steering pump removed and the new
PSC pump installed

Charcoal canister relocated

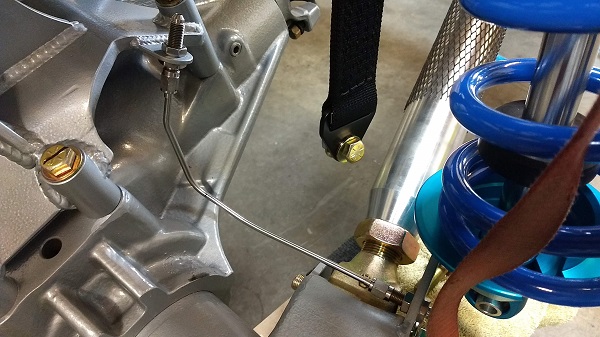
New Stainless Steel brake lines
Sway bar mounts and bar installed
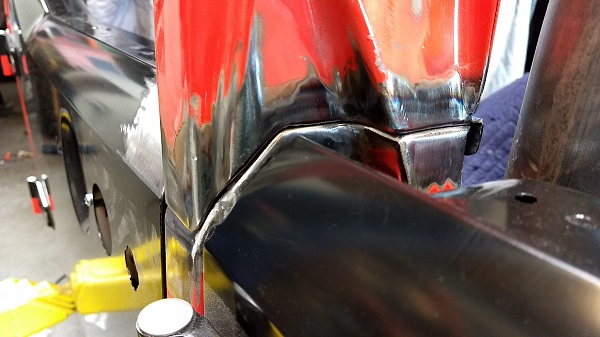
Rear Bumper
Side and
Center Rash Guards installed. Its amazing how good these fit the bumper
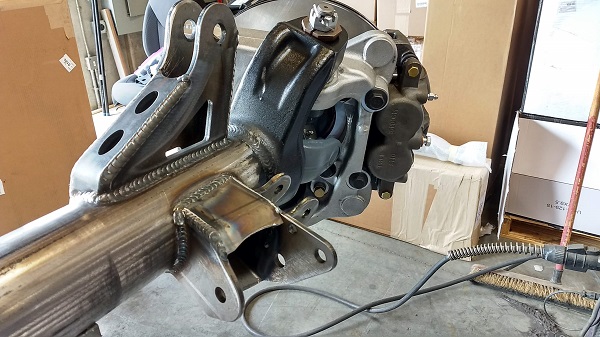
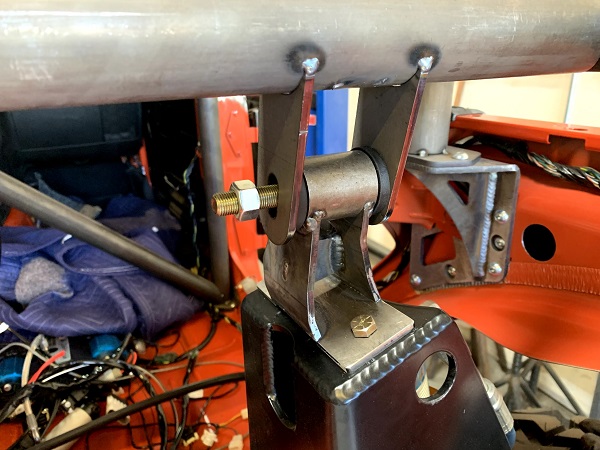
Trac bar and lower link mount ready for paint
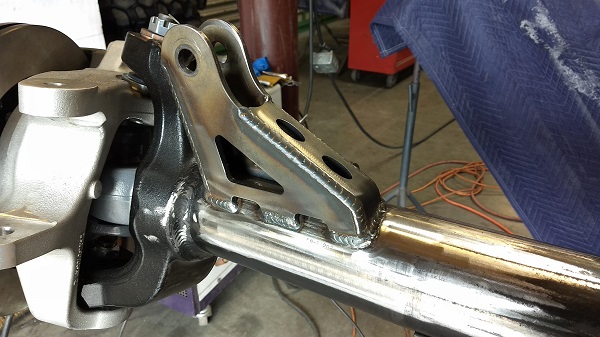
Looking from the front
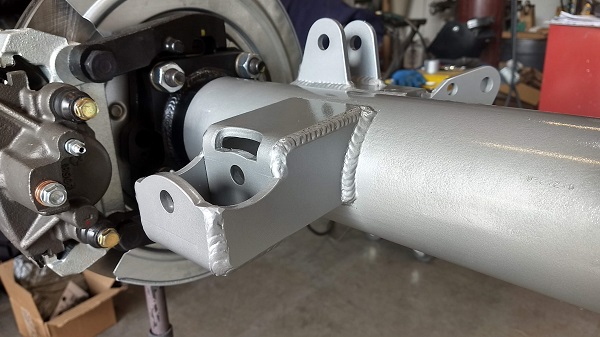
A coat of etching primer and a few coats of Hammered Silver

Ready for install
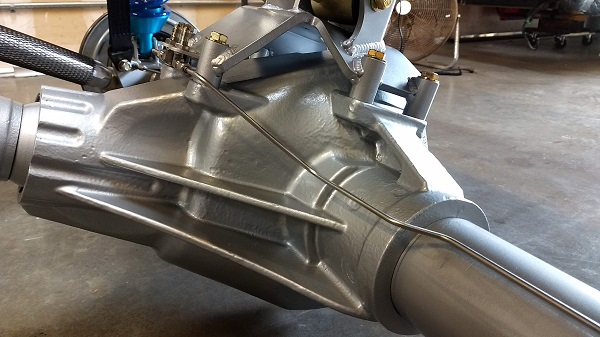
Some stainless steel brake lines running to stainless steel bulkhead fittings
From the back
Front brake lines done
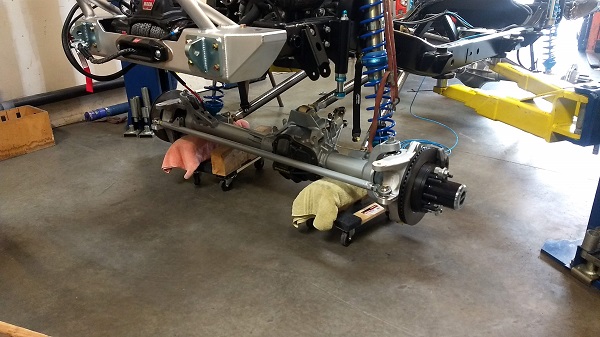
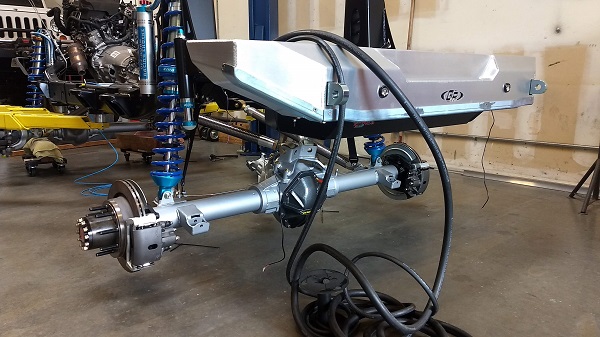
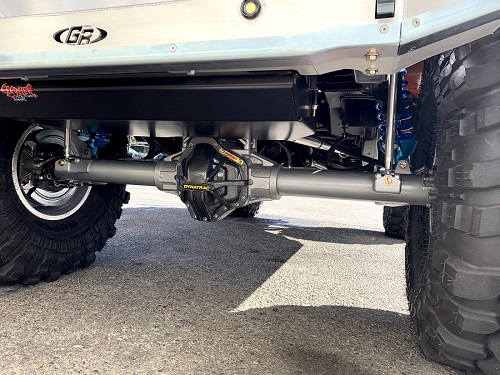
Front axle under the Jeep and ready for a trac bar and steering
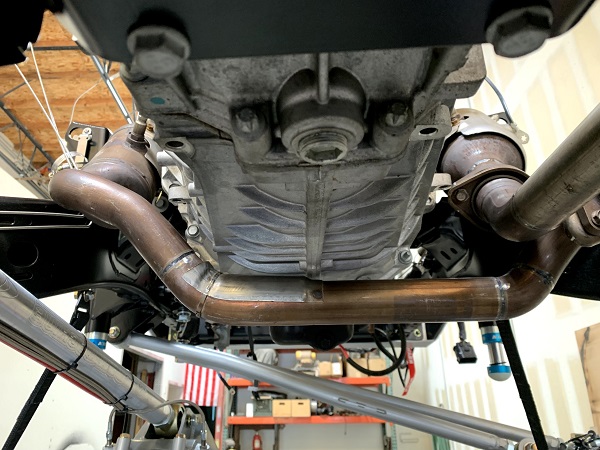
I used the stock exhaust system to build the new system
All TIG welded
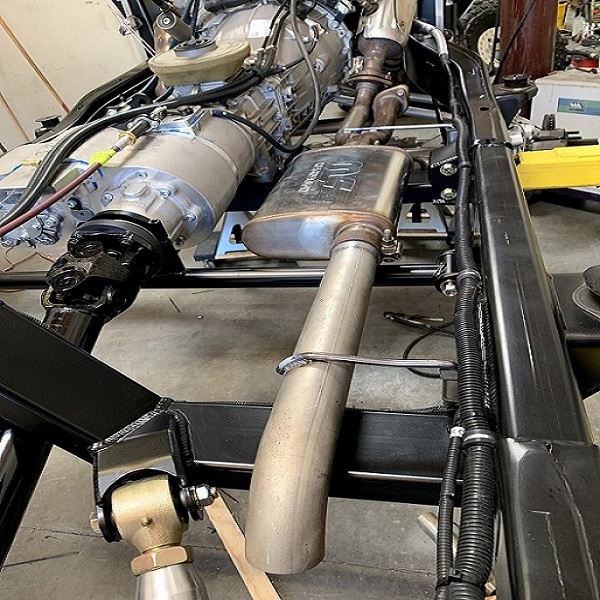
New Stainless steel muffler and stock tail pipe
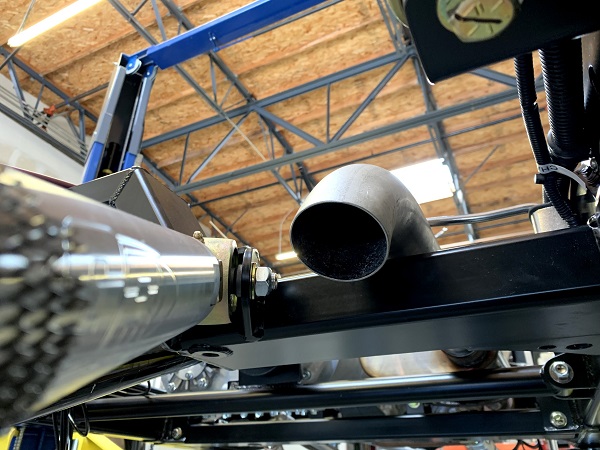
I trimmed the tail pipe just above the rear cross member
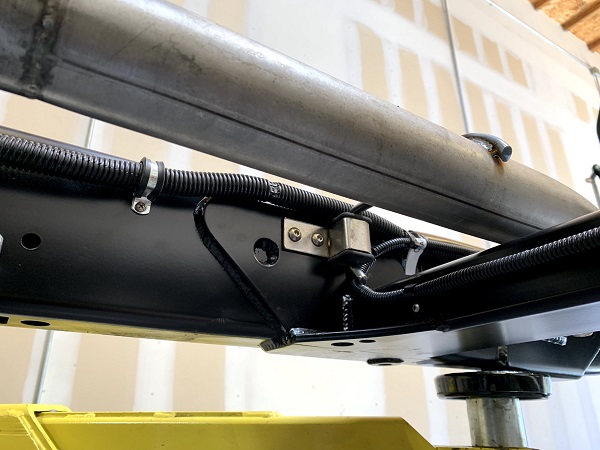
Stainless steel isolation brackets will keep the system quiet
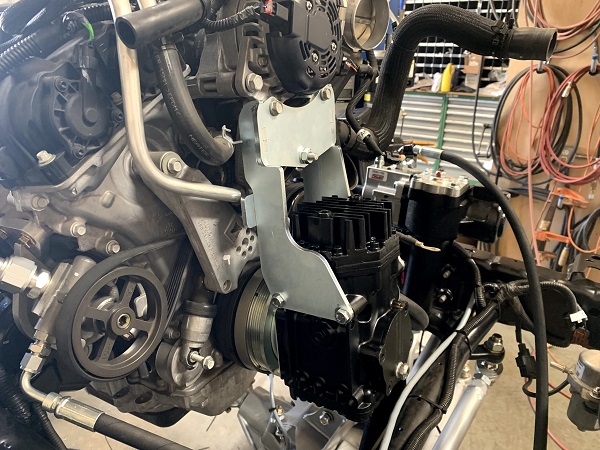
Installed a York crankshaft driven air compressor
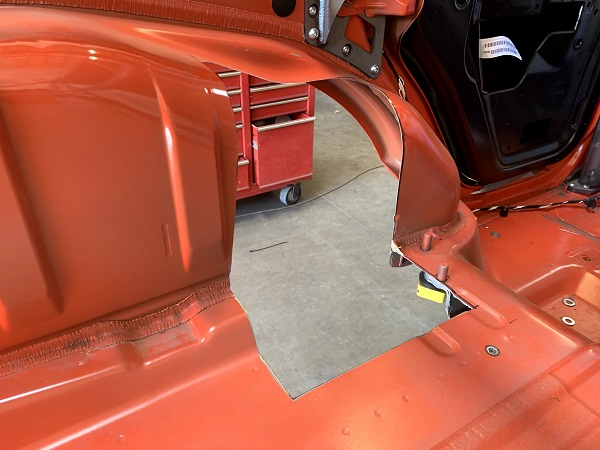
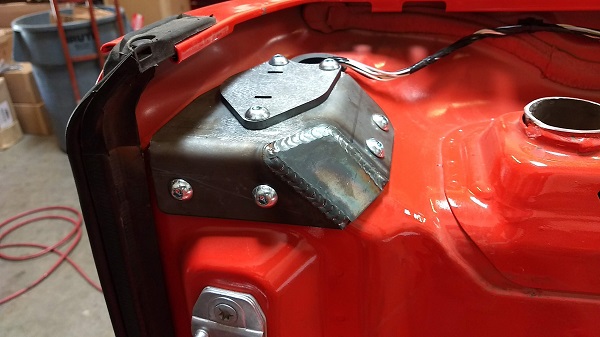
Rear shock tower holes cut into the body
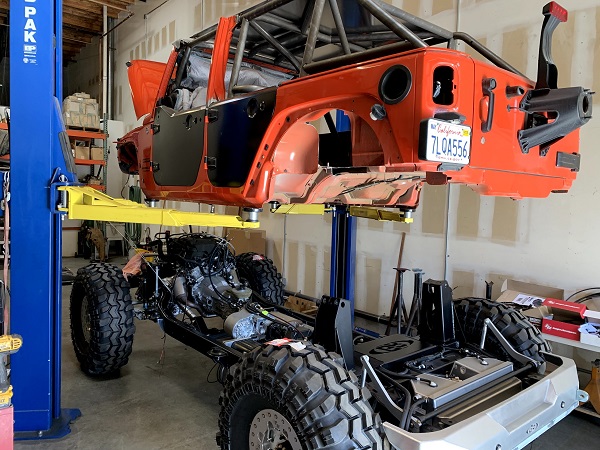
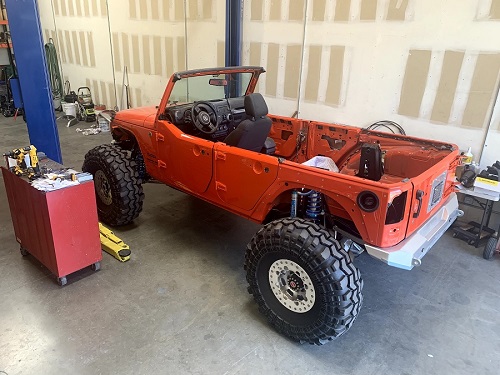
Body install time!

I bent up some 18g steel, welded it into place and then covered it with some heat/sound blanket material
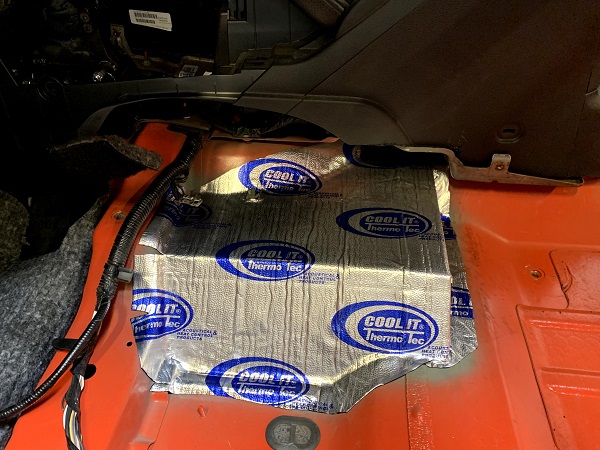
The modification will be completely under the drivers seat
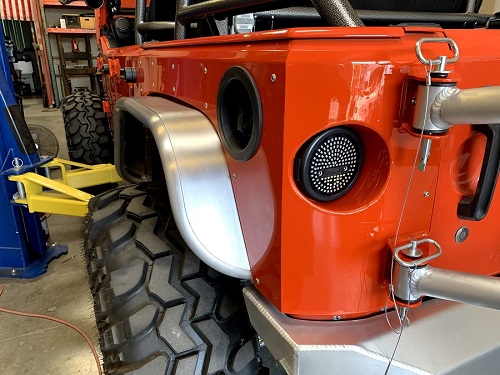
Next I pre-installed to GenRight corner guards. Dimpling the body keeps the corner guard tight to the body
I installed the
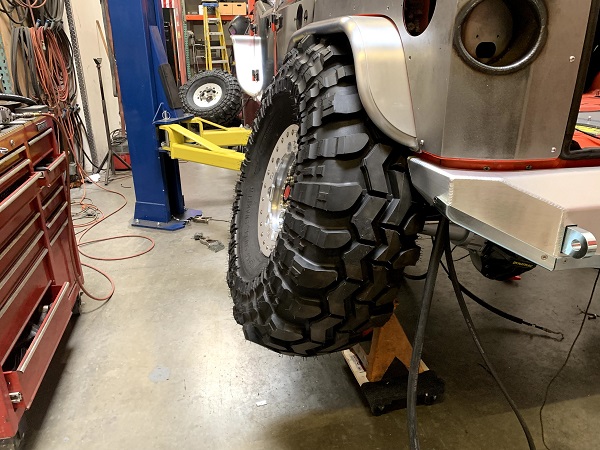
Genright aluminum fenders to check clearances under articulation. The
Elite suspension is engineered for max 42" tall tires and our customer wanted 43" stickies so we trimmed the body in a few spots and limited the rear shocks about 1/2" to help keep the fender and tire from rubbing
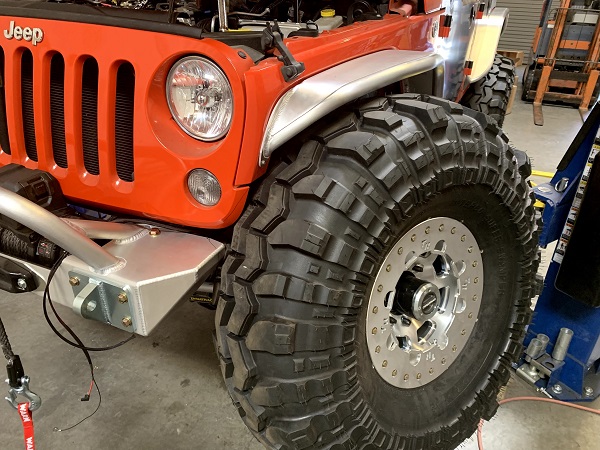
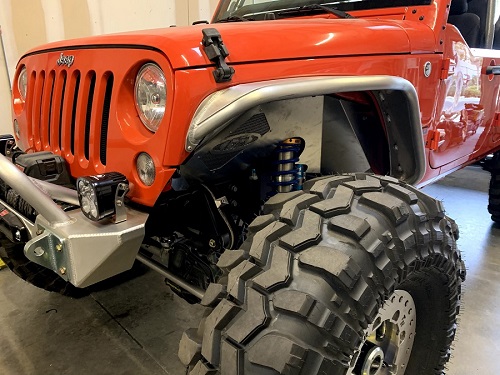
The front clears great. A little trim on the body, grille and bumper does the trick
This kit is incredible!
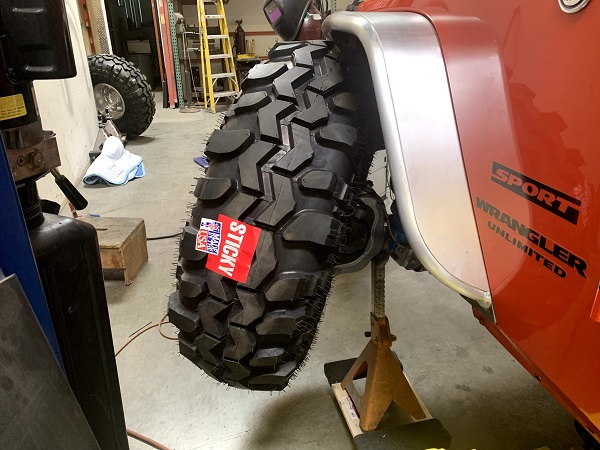
Yep! Sticky!
Break out the cut off wheel and lets go!
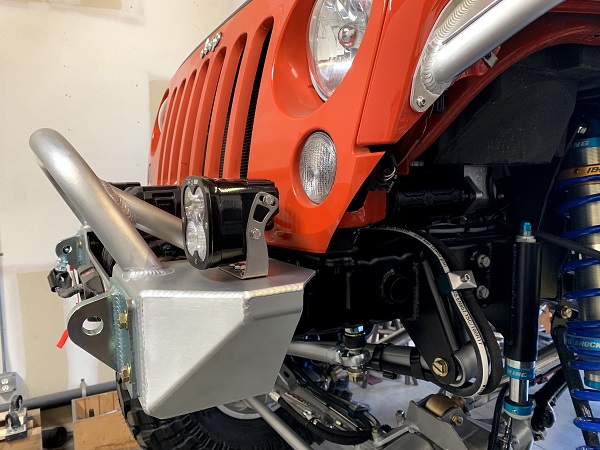
Done! I also installed a set of Baja Designs off road lights
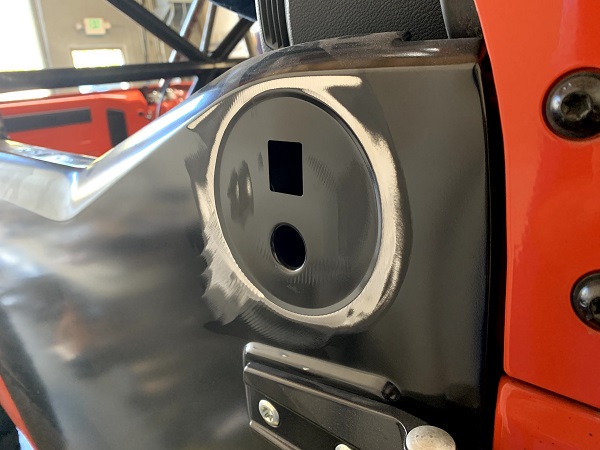
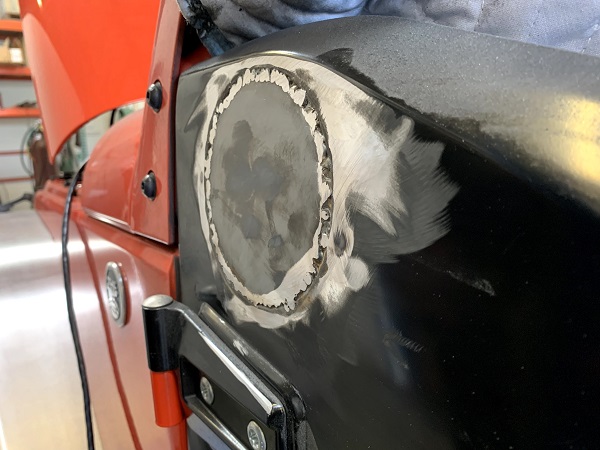
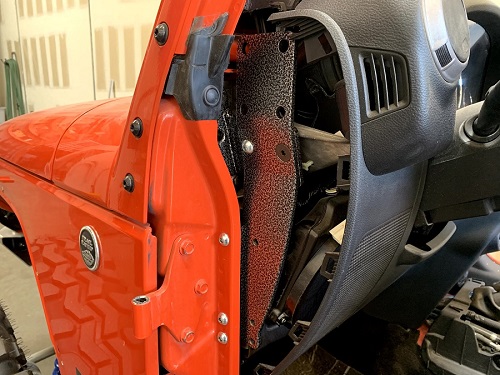
These mirror recesses in the factory half doors must go
Almost ready for paint!
 J E Reel
 drive lines front and rear. Only the best for this build!
Before I pull the cage for final welding and powder coat I tacked in these
GenRight Cage Tie in brackets
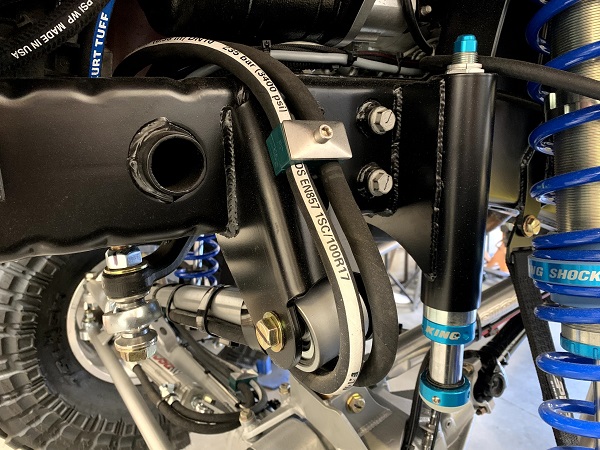
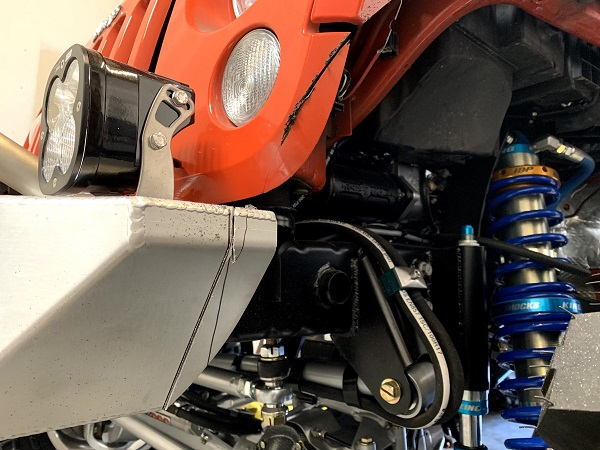
Hydro assist lines run down the trac bar with strain reliefs
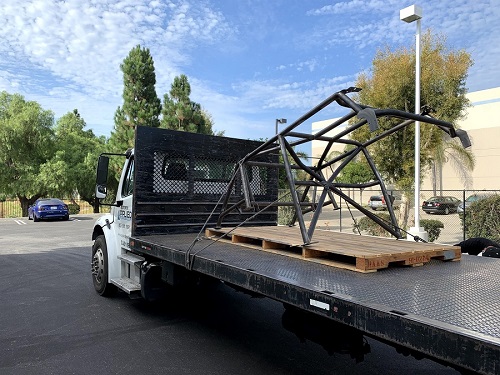
The cage is off to the powder coater
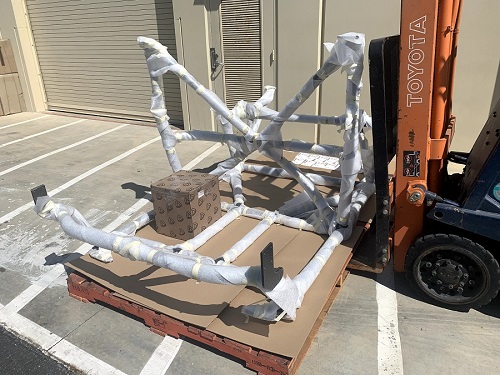
Wow that was fast!
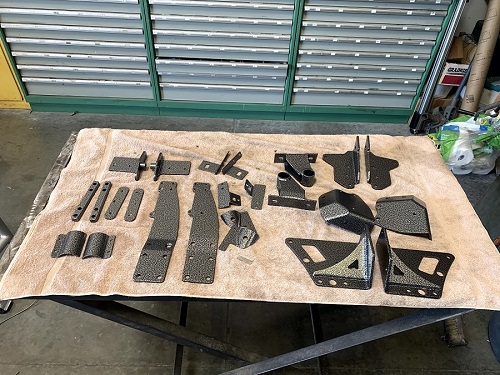
All the cage pieces ready to reinstall
Jeep is back from paint and looking great!
Powder coated cage brackets going in
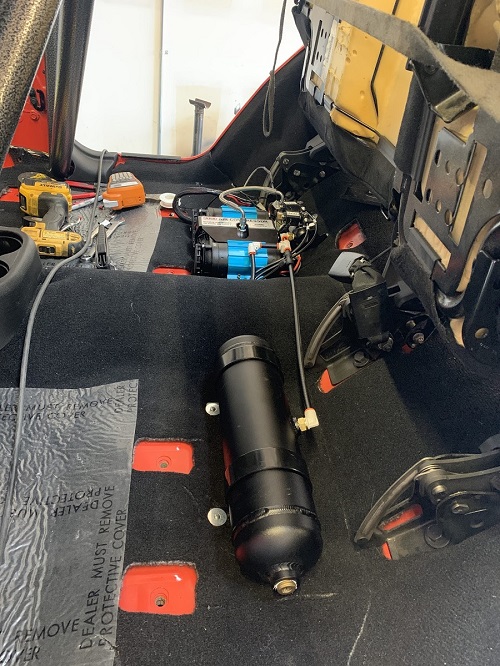
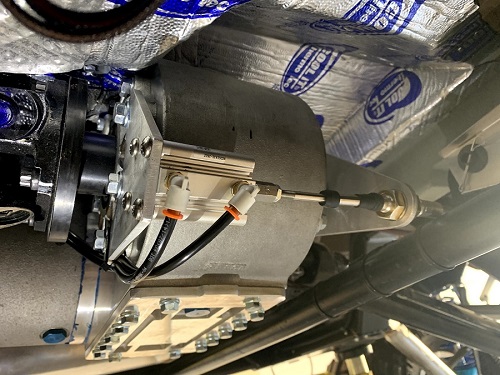
Dual air compressor and tank under the rear seat
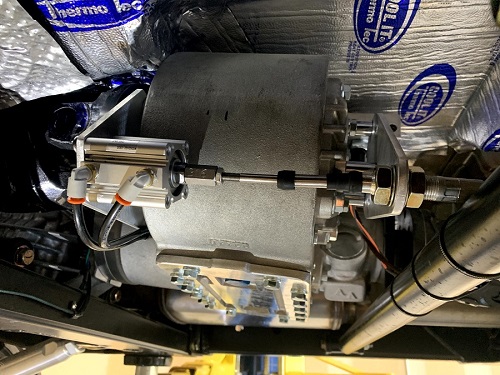
I was really having an issue with cutting a hole in the floor for the planetary shifter for the four speed Atlas so I designed and built a very cool air operated and actuated shifter that works great!
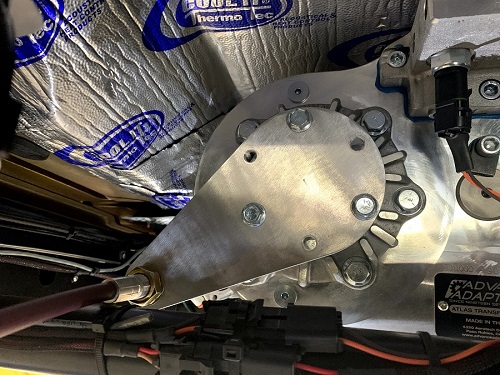
Laser cut bracket for the air shifter looking from the back
Forward bracket
This is the air switch that shifts the planteries. If you are interested in this shifter I can put it all in a box with your name on it.m Just email me at mark@moneypitclassifieds.com
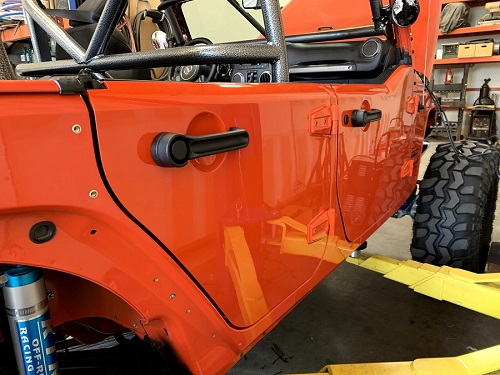
The paint on the factory half doors came out amazing!
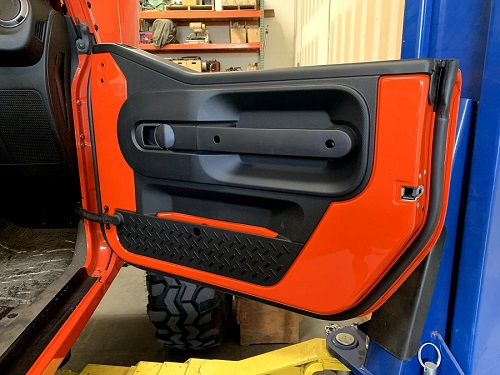
The factory door panels look great also
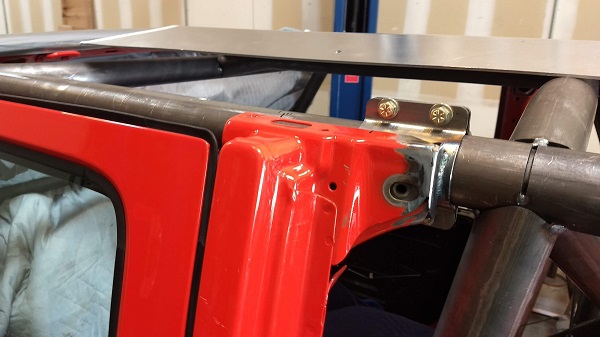
Next I installed the GenRight full corner guards, LED tail lights and aluminum fenders
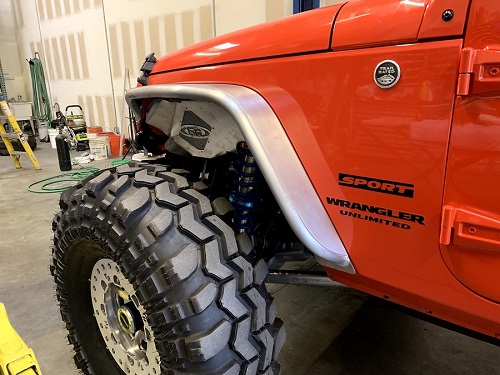
Front fenders and inner fenders
They look awesome!
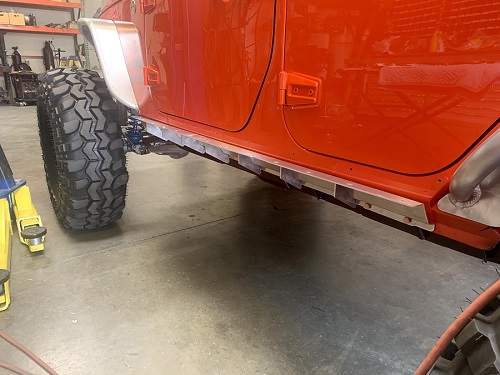
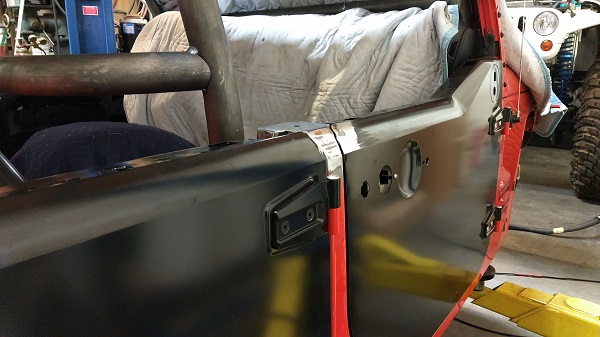
First the inner frame gets attached with bolts
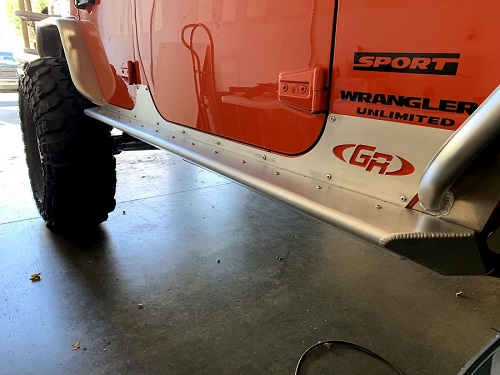
Then the body kick panel and rocker
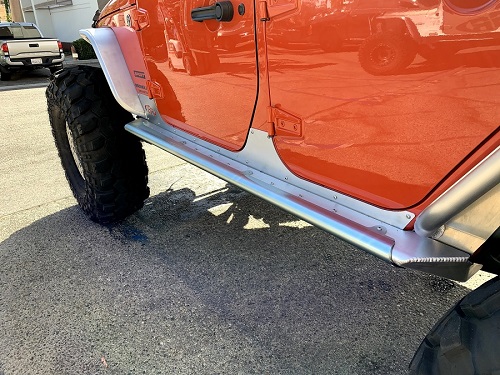
Then the Zinc plated steel rash guards
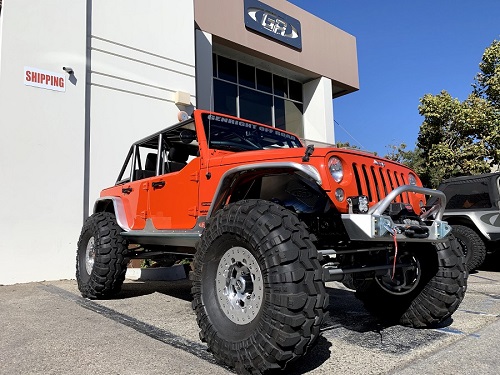
That's It! Its done! A short ride to GenRight and its ready to deliver to the customer
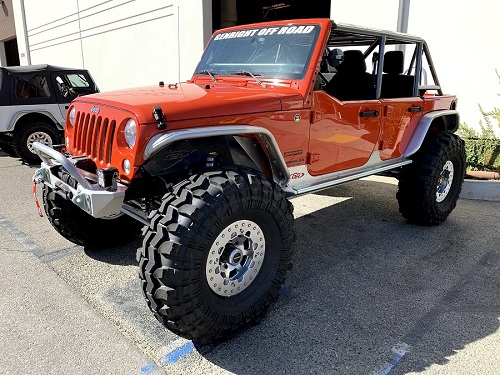
All of the colors on this rig really go great together
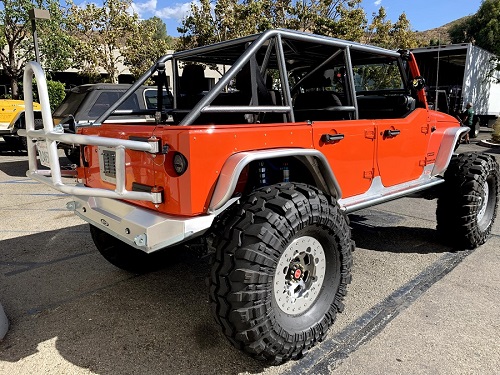
The 43" stickies are cool!
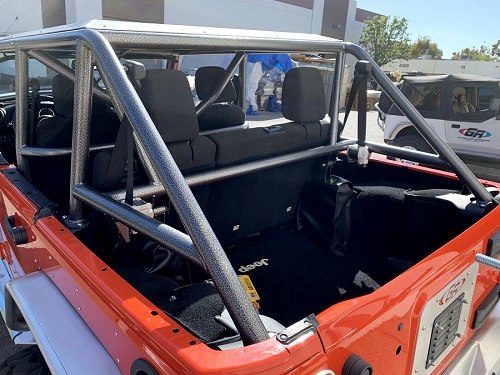
The powder coat on the cage looks great and the aluminum roof adds protection from the sun and in the event of a roll over
The
GenRight tank is tucked up and protected by a beefy skid plate
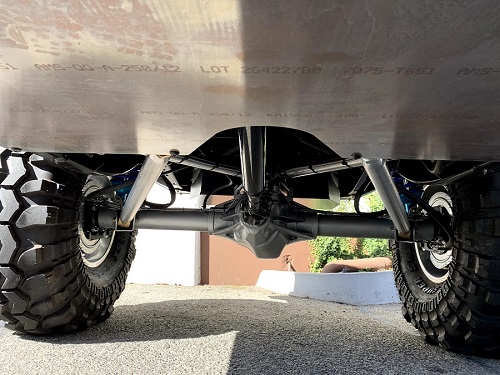 J E Reel
 drivelines tie the Atlas transfer case to the axles
Sooo pretty!
Test Run! Works perfect!
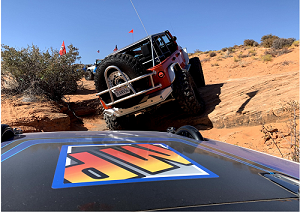
Thanks for checking out this album and following the build. A special thanks to
GenRight Off Road for trusting me on this one. This is a very capable JKU and I hope you can see it perform on the trail sometime.